8 Field Seaming Checks for Contractors: Prevent Mistakes, Cut Seams
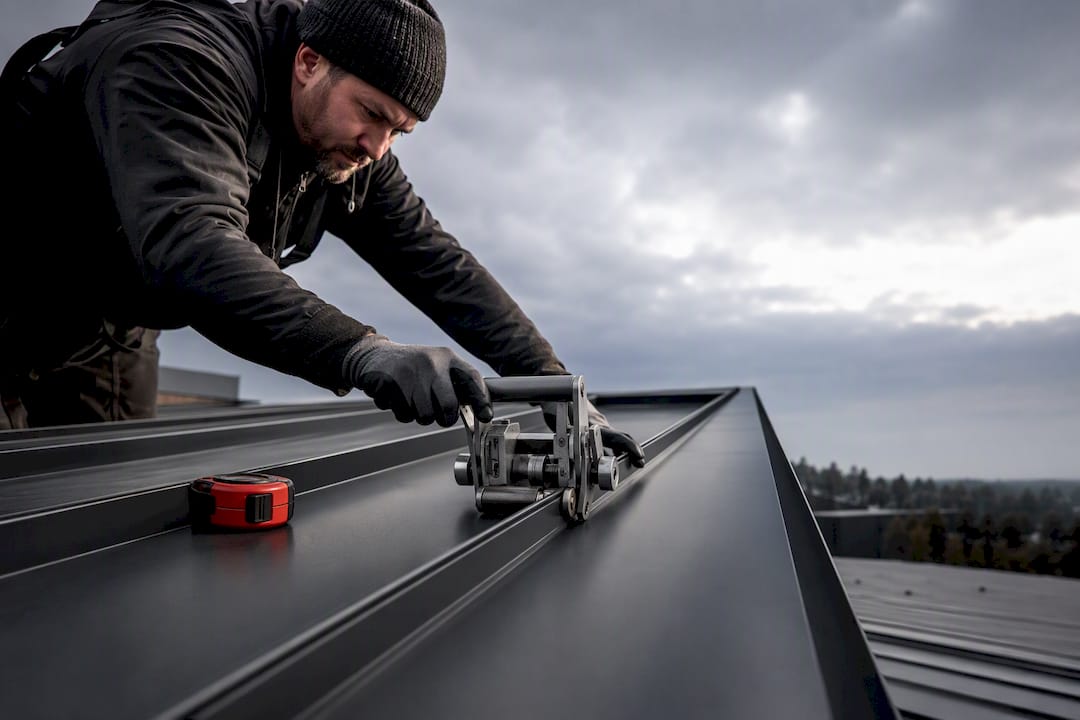
Contractor checklist to avoid field seaming mistakes: run a 12 in trial seam and consider cut and drop panels to reduce field seams.
The highest-risk field seaming mistakes are using a seamer that does not match the panel profile or gauge, seaming over debris or excess sealant, skipping hand crimping at clips, and delaying seam closure until the end of the day. Before running a full course, verify the seamer’s tooling and power source, then run a 12-inch trial seam and inspect it. If that trial seam looks wrong, stop and troubleshoot before you commit the rest of the panel.
TL;DR:
- Using the correct seamer matched to the panel profile and gauge is crucial to prevent permanent panel damage and ensure wind load performance.
- Running a 12-inch trial seam and inspecting it thoroughly helps catch seaming issues early before full installation.
- Proper preparation, including cleaning, sealing, hand crimping, and matching power supply, significantly reduces the risk of seam failure during installation.
- Stopping immediately when encountering unexpected seam profiles or malfunctions prevents further damage and protects warranty validity.
- Reducing field seams through on-site roll forming or custom-length panels lowers the potential for seaming mistakes and streamlining installation.
Table of Contents
- Common field seaming mistakes to watch for on the roof
- Why these mistakes matter for wind load, leaks, and warranties
- How to check your setup before and during seaming
- When to stop and call the manufacturer
- What years of panel fabrication have taught us about seaming risk
- Fewer seams, less risk: how we support your install
- Sources
- FAQ
Common field seaming mistakes to watch for on the roof
Most seam failures trace back to a short list of repeatable errors, and they tend to show up in the same order on a job site.
- Wrong seamer for the panel: using a tool not matched to the panel profile or gauge is one of the most damaging and preventable mistakes, since electric seamers are configured per profile and assuming one machine fits every panel line is a costly assumption.
- Debris or sealant left on the panel: dirt, manufacturing film, or excess sealant on the seam edge before the machine passes over it often causes machine malfunction or a seam that will not stay weathertight.
- Skipped hand crimping: failing to hand crimp at clip locations before mechanical seaming forces the seamer to work harder at every clip, raising the odds of a stall or a damaged panel.
- Sealant errors: the wrong sealant type or an oversized bead can build hydraulic pressure inside the seam and distort it, a failure mode installers sometimes call blow-out.
- Clip mismatch: using a clip that was not engineered for that panel and gauge can reduce wind uplift capacity and interrupt sealant continuity along the seam.
- Poor panel alignment: read-through, dimpling, or buckling before the seamer ever runs is a sign the panel was not seated correctly, and seaming over it locks the defect in place.
- Power supply shortfalls: an undersized extension cord or a shared circuit can starve the seamer’s motor mid-run, producing an incomplete or inconsistent seam.
- Delayed seaming: waiting until the end of the day to close seams instead of seaming as you go lets panels shift, which shows up later as modulation and alignment drift.
Why these mistakes matter for wind load, leaks, and warranties
A standing seam roof is only as strong as its weakest seam, and seaming is a structural assembly step, not a finishing touch. When a seam is not fully engaged, or the wrong clip or seamer was used, the assembly may fail to reach the wind uplift performance it was engineered and tested for, the kind of loading captured in structural testing protocols like ASTM E1592. A distorted seam, a sealant breach, or a clip that has punched through its sealant bead all create a path for wind-driven water, and each one starts as a small defect that gets sealed over instead of corrected.
The warranty consequences can be just as costly as the physical repair. Using a field seamer the panel manufacturer has not approved can permanently damage panels and void the manufacturer’s warranty outright, and mismatched or substituted clips can do the same by downgrading the tested uplift rating of the assembly. In practice, that means panel replacement, schedule delays while the crew waits on replacement material, and a liability conversation nobody wants to have after the roof is dried in.

How to check your setup before and during seaming
Run through this sequence before the seamer ever touches a panel, and repeat the trial-seam check any time conditions change.
- Match the tool to the panel. Confirm the seamer, die set, and calibration are the ones specified for that panel profile and gauge before you power anything on.
- Check the power supply. Use a dedicated circuit sized for the seamer’s amperage, and if you need an extension cord, 10-gauge cord kept under roughly 200 feet is the standard reference point for avoiding motor drop.
- Clean the panel. Remove manufacturing film, dirt, and any debris from the seam edge, and keep sealant sealed in its original packaging until you are ready to apply it.
- Apply sealant to spec. Match the sealant type to the panel system and follow the specified bead size, since over-applying it is a common cause of hydraulic blow-out.
- Hand crimp at every clip. A hand crimp at each clip location holds the panel temporarily and cuts the horsepower the seamer needs to close the seam over that clip.
- Run a 12-inch trial seam. Engage the tooling, run about 12 inches, power off, and inspect the closure before committing to the full run.
- Continue or stop. If the trial seam looks right, continue seaming as you go rather than waiting until the panel run is finished.
- Inspect as you go. Check for continuous sealant, a consistent seam profile, no read-through, and properly seated clips, and photograph anything questionable for warranty documentation.
Pro Tip: Seam each panel as it goes down instead of batching seams at the end of the day, since panels left unseamed overnight or in wind can shift out of alignment before the machine ever reaches them.
When to stop and call the manufacturer
A handful of red flags mean stop the seamer immediately rather than pushing through: an unexpected seam profile, a machine that stalls with no obvious cause, visible read-through along the panel face, or a seam that shows signs of hydraulic blow-out. Before you touch anything else, check the power source, confirm the tooling still matches the panel, and clean the rollers, then re-run a short trial seam to see if the problem clears.
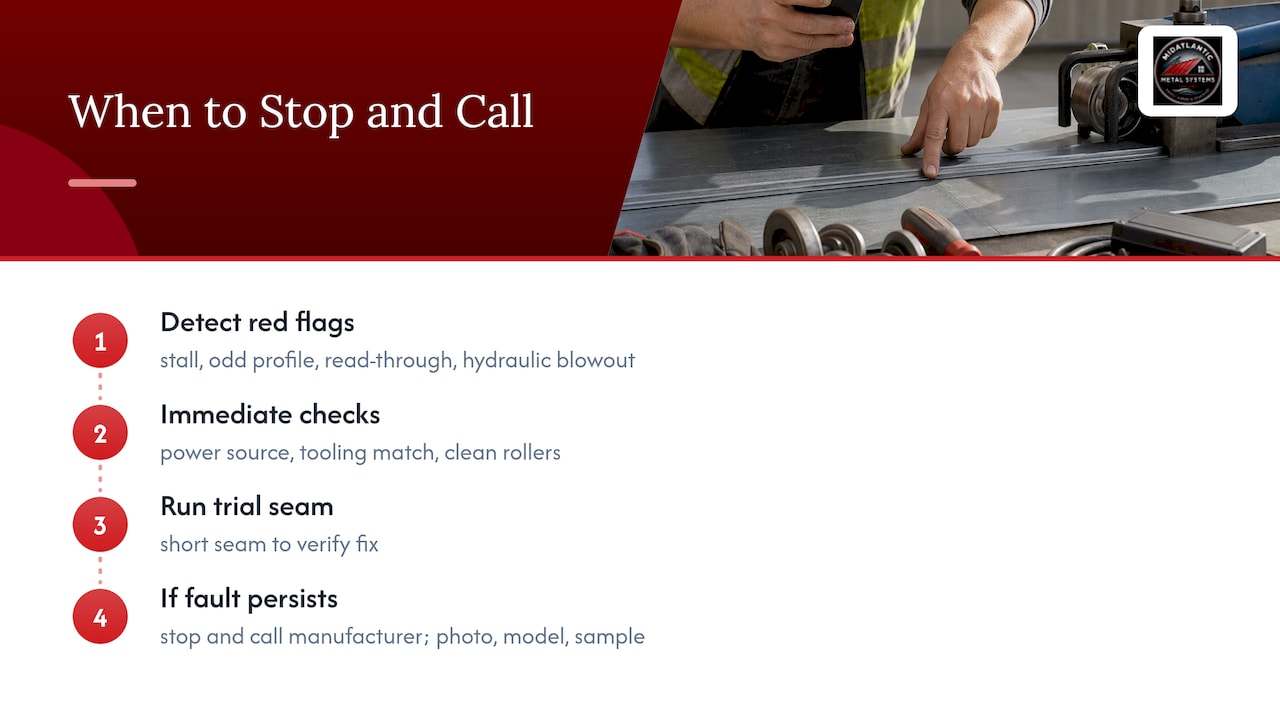
If it does not, stop and call the manufacturer rather than forcing the tool through, because continuing to run a malfunctioning seamer can destroy several panels in the time it takes to diagnose the actual cause. Photograph the seam, note the seamer’s model and serial number, and keep a physical sample of the bad seam if you can cut one. That documentation is what protects a warranty claim and gives the OEM’s technical line enough information to diagnose the problem over the phone instead of guessing.
What years of panel fabrication have taught us about seaming risk
The seaming mistakes above are almost all preventable at the fabrication stage, before a panel ever reaches the roof. Panels cut to the wrong length or laid out without accounting for coverage waste tend to get forced into position on the roof, and that forcing is exactly what produces the misalignment and read-through that show up later in a bad seam. Getting the panel layout right up front removes a lot of that risk before the crew ever picks up a seamer.
Clip sizing carries the same logic. Panels that expand and contract more than the clip spacing accounts for put unplanned stress on the seam over time, which is why sizing clips to SMACNA guidance rather than defaulting to a standard spacing matters on longer runs. On-site roll forming carries its own advantage here too: producing custom-length panels at the job site means fewer field joints and fewer opportunities for a seaming error to happen in the first place.
— Matt Catino
Fewer seams, less risk: how we support your install
Every seaming mistake on this list becomes less likely when there are fewer field seams to get wrong. Custom-length cut-and-drop panels delivered to spec cut down on field cuts and joints, and on-site roll forming produces panels in the exact length a roof needs, even on runs too long or too complex for standard stock lengths.
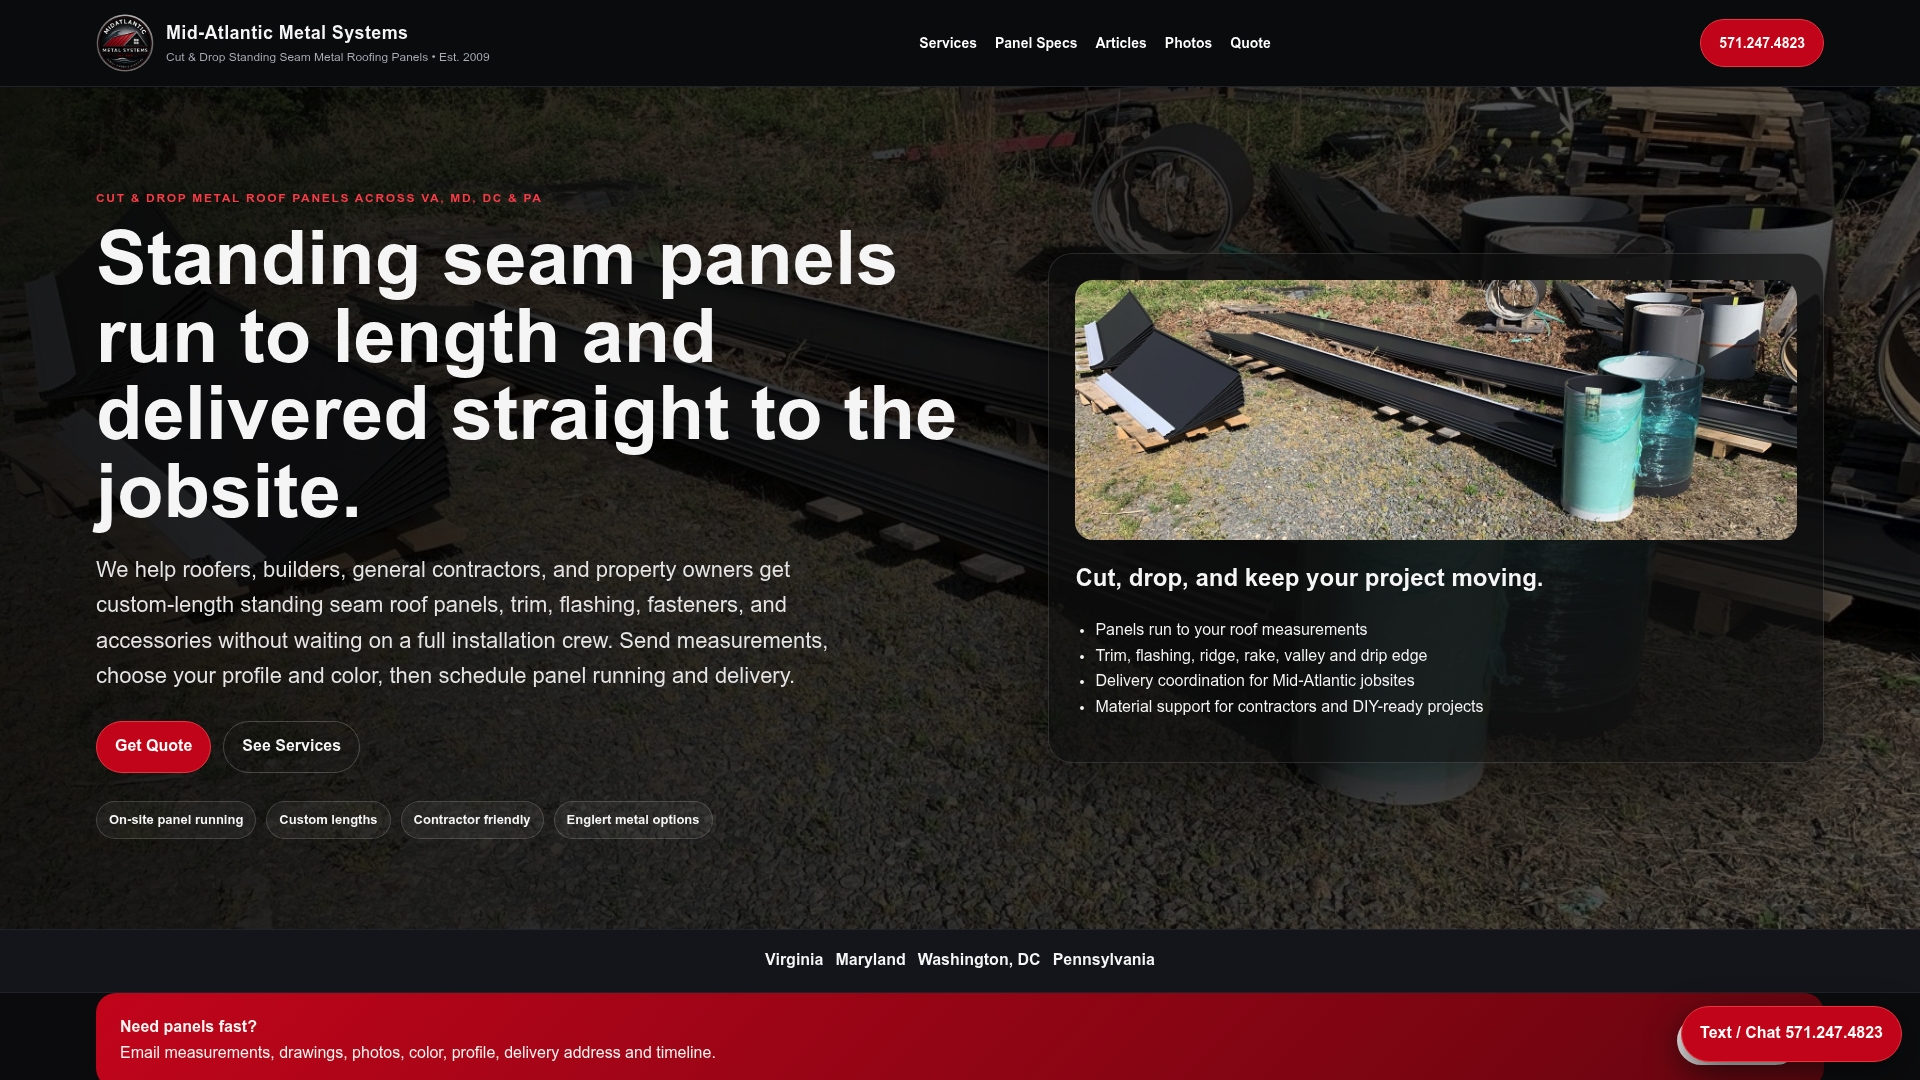
- Mechanical lock and snap lock panels manufactured in steel, sized to your run before delivery.
- Trim and flashing packages coordinated with your panel order so seam terminations and transitions are covered from the start.
- Contractor supply support for crews that need fasteners, accessories, and takeoff help alongside the panel order.
Check current profiles and gauges on the standing seam panel page and get a cut-and-drop quote before your next install.
Sources
For full specs and training, see the MCA Roof Seaming Best Practices Guide, the MCA clips technical note, and MCA’s Roof Installation Manual, alongside your OEM seamer manual and general roofing installation guidance.
- Roof seaming best practices guide (MCA)
- Seamed roofs: tips for successful mechanical seaming (Read Metal Roofing)
FAQ
What is the biggest cause of standing seam failure?
Using a seamer that does not match the panel’s profile or gauge is one of the most damaging errors, since it can permanently harm the panel and prevent the assembly from meeting its design wind-load performance. Mismatched clips carry a similar risk by reducing tested uplift capacity.
How do I know if a seam was closed correctly?
Run a short trial seam, power off, and check for a consistent profile, no read-through, continuous sealant, and properly seated clips before continuing the full run. If anything looks off in that trial seam, stop and troubleshoot rather than seaming the rest of the panel.
Why does hand crimping matter before mechanical seaming?
Hand crimping at each clip location gives the panel a temporary hold and reduces the horsepower the mechanical seamer needs to close the seam over that clip. Skipping it forces the machine to work harder and raises the chance of a stall or panel damage.
What should I do if the seamer stalls mid-run?
Stop immediately rather than forcing the tool through, check the power source and tooling match, clean the rollers, and re-run a short trial seam. If the problem does not clear, contact the manufacturer with photos, the seam sample, and the seamer’s serial number on hand.
Does Mid-Atlantic Metal Panels help reduce field seaming risk?
Yes, custom-length cut-and-drop panels and on-site roll forming reduce the number of field joints and cuts a crew has to seam on the roof. Fewer field seams mean fewer chances for the common mistakes above to happen.