Standing Seam Clip Spacing Contractors Use for Panels Over 10 ft
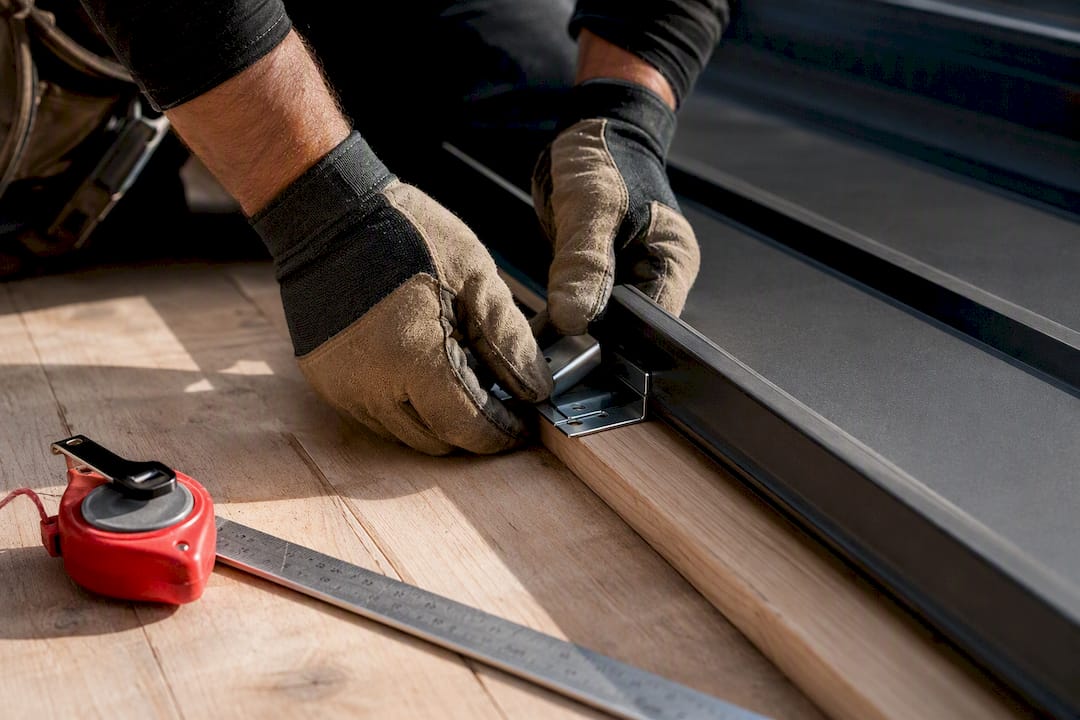
Contractor checklist for standing seam clip spacing: quick 12–24 in OC planning range, 6–12 in in high wind, when 10 ft panels trigger a manufacturer or...
Most standing seam systems start in the 12" to 24" on center range, tightening to 6" to 12" OC in heavy snow or high wind zones. That range is only a starting point, though. The number that actually goes on your layout comes from the panel manufacturer’s wind uplift test data, engineered per ASTM E1592 or the applicable UL and FM standards, not from a generic chart. Any panel run longer than roughly 10 feet, any high wind exposure, or any rooftop load like solar racking should trigger a call to the manufacturer or a registered design professional before you finalize spacing.
TL;DR:
- The actual clip spacing depends on tested assembly data for the panel profile, fasteners, and substrate, not just manufacturer guidelines or charts.
- Longer panels over 10 feet require a fixed zone near the ridge and expansion clips in the field to accommodate thermal movement and prevent buckling or oil-canning.
- Higher wind uplift, snow loads, and substrate weakness demand tighter clip spacing, often closer than the standard 12 to 24 inches OC, to ensure proper load distribution.
- Confirm that two-piece sliding clips have sufficient travel and are rated for the specific panel profile before installation to avoid future movement issues.
- Precise substrate verification and matching panels with correct clip specifications are critical, especially for high-wind or long-run projects, to ensure warranty and performance.
Table of Contents
- Standing Seam Clip Spacing Starts With Clip Type
- What Clip Spacing Actually Looks Like on a Job
- Panel Length Changes the Whole Spacing Strategy
- Factors That Push Spacing Tighter or Looser
- Installation Practices That Keep Spacing Honest on the Roof
- The Standards That Actually Set Your Spacing Number
- How MidAtlanticMetalPanels Supports Clip Compatibility
- What the Industry Gets Wrong About Clip Spacing
- Get Panel-Matched Clip Specs and a Contractor Supply Quote
- Sources
- FAQ
Standing Seam Clip Spacing Starts With Clip Type
Before you can talk numbers, you need to know which clip you’re spacing. Standing seam systems use two functional categories, and mixing them up on a layout is how panels end up buckled by August.
Fixed clips lock the panel rigidly to the deck at one point. They establish the anchor the rest of the panel expands and contracts around. Every run needs at least one fixed zone, but fixed clips everywhere is a mistake we’ll get to shortly.
Expansion clips (sometimes called floating clips) let the panel slide longitudinally as steel heats and cools. These come in one-piece and two-piece designs. Two-piece sliding clips separate the deck-mounted base from the panel-engaging top, letting the top piece travel along a track as the panel moves.
A few things installers should never skip:
- Confirm the clip is rated for the exact panel profile before ordering. Profiles vary by manufacturer even when they look similar on a spec sheet.
- Check that two-piece sliding clips have enough remaining travel at installation. If a clip is already near the end of its track when installed, thermal expansion later in the season can bottom it out.
- Never substitute a clip from one product line into a different panel system without written engineering confirmation. The Metal Construction Association’s educational materials are explicit that clip and panel interchangeability should only happen after formal evaluation or testing.
Pro Tip: Look for a two-piece clip with a built-in centering feature. It’s a small design detail, but it removes the guesswork of eyeballing whether a sliding clip is properly seated before the panel goes on.
What Clip Spacing Actually Looks Like on a Job
Field practice across the industry tends to cluster around a few recognizable bands, and knowing them helps you sanity check whatever the engineered drawing tells you.
- 12" to 24" OC is the baseline range cited across manufacturer literature and field guidance for standing seam systems on low-to-moderate slope, standard exposure roofs.
- 6" to 12" OC shows up in heavy snow country or wind-critical coastal and ridge-top sites, where uplift and drift loads climb fast.
- Some manufacturer load tables allow spacing adjustments in increments as tight as 6" between a 6" minimum and a 36" maximum, giving engineers room to dial spacing to the exact load case rather than rounding to the nearest common number.
Panel width matters too. One supplier’s cleat spacing chart illustrates the pattern clearly: a 12" coverage panel might use cleats every 18", an 18" coverage panel every 12", and a 24" panel every 9", according to Stortz’s clip guidance. Wider panels catch more wind load per fastener line, so they typically need clips closer together to spread that load across more attachment points.
None of these numbers are code minimums you can default to blind. They’re reference points. The Spengler Industries fastening guide is direct about this: actual spacing has to match the tested assembly, meaning the same panel profile, clip, fastener, and substrate combination that was run through wind uplift testing. Swap any one component and the tested numbers no longer apply.
Panel Length Changes the Whole Spacing Strategy
Panels under 10 feet rarely give installers trouble with thermal movement. Once you cross that threshold, spacing strategy has to shift from “even spacing throughout” to a fixed zone plus a sliding field.
- Establish the fixed zone first. Industry guidance commonly recommends using several fixed clips to create a stable anchor area, rather than relying on a single fixed point.
- Place the fixed zone at the panel’s high end, typically near the ridge or hip, so the panel expands and contracts toward the eave. Spengler’s clip guidance notes this direction control matters: putting the anchor in the wrong spot can push movement toward a termination detail that wasn’t built to absorb it.
- Run expansion clips through the remaining field length, spaced per the manufacturer’s engineered schedule, allowing the panel to breathe as temperatures swing.
- Never run a long panel on fixed clips alone. A panel with no room to move will fight itself every time the sun hits it, and that fight shows up as oil-canning, clutch separation at the seam, or outright buckling over a season or two.
Slope factors into placement decisions too. Steeper slopes concentrate more gravitational load toward the eave, which can shift how much fixed-zone coverage a designer wants near the top versus the bottom of the run.
Factors That Push Spacing Tighter or Looser
Four project variables move the needle on every layout, and none of them are optional to check.
- Wind uplift design pressure. Higher uplift demand means each clip and fastener has to resist more pull-out force, which usually means closer spacing to distribute the load.
- Snow load and freeze-thaw cycling. Heavy snow zones often need tighter spacing and denser fixed-clip coverage near the upper roof, where drift and ice buildup concentrate weight.
- Substrate strength. Thin sheathing or wide purlin spacing limits how much load the deck can transfer to fasteners, sometimes forcing added blocking or tighter clip spacing regardless of what the panel itself could theoretically handle.
- Slope, orientation, and rooftop attachments. Solar arrays and rooftop equipment add point loads the original spacing plan never accounted for. When PV clamps mount between clips, the clamp spacing should stay within the panel’s clip spacing so it never carries more load than the assembly was tested for.
Installation Practices That Keep Spacing Honest on the Roof
A correct spacing number on paper still fails if the layout on the deck doesn’t match it. These checks catch the failures before they’re covered by the next panel.
- Snap control lines before you set the first clip. Working off a chalk line or laser keeps OC spacing consistent across the whole field instead of drifting panel by panel.
- Verify sliding clip centering and remaining travel on every two-piece clip before locking the panel down. A clip installed at the end of its track has nowhere left to go once the panel expands.
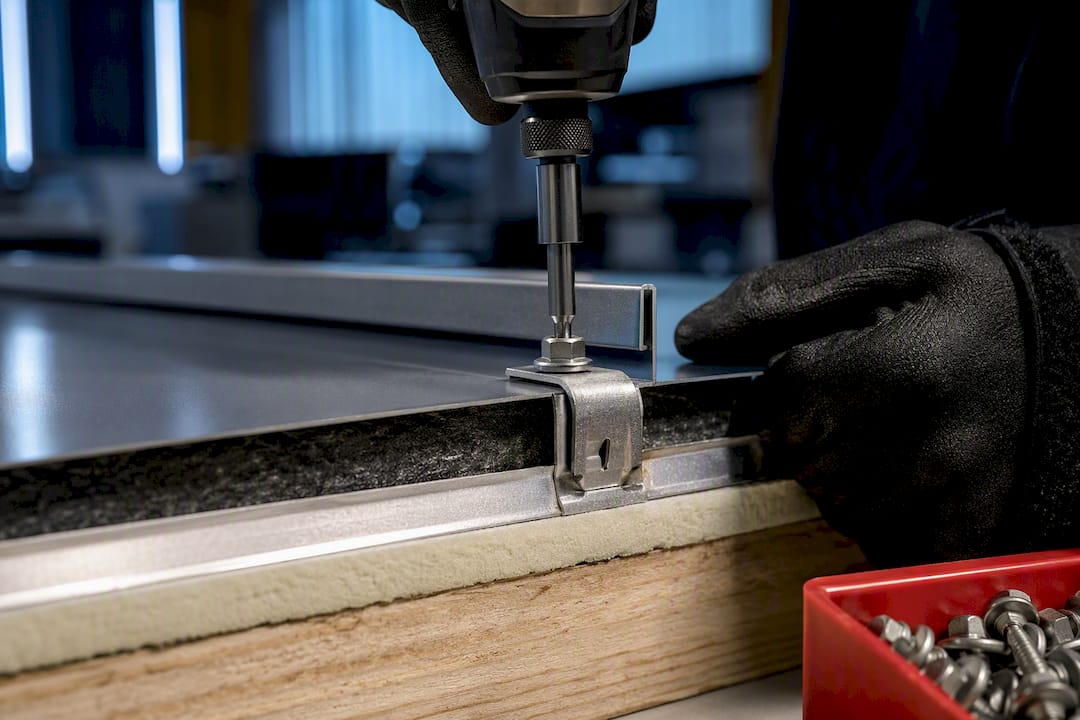
- Match fastener count and type to the manufacturer’s spec, and follow published torque guidance where it’s given. Overdriving a screw crushes the clip base and reduces holding power; underdriving leaves it loose.
- Confirm clip and panel are from the same tested system. This is the single most common installation error: a crew grabs a compatible-looking clip from another product line because it’s what’s on the truck, and the assembly no longer matches any tested configuration.
Pro Tip: Keep a printed copy of the manufacturer’s fastener schedule on site. Memory drifts over a long install day, and a crew running three or four screws per clip when the spec calls for two is an easy, invisible mistake until the next windstorm.
Correct fastener selection also matters more than most crews assume. Using flanged hex head bolts rated for the substrate and clip base, rather than whatever fastener is closest to hand, keeps pull-out resistance consistent with what the assembly was tested against.
The Standards That Actually Set Your Spacing Number
No building code publishes a universal standing seam clip spacing table. What governs the number instead is a chain of wind uplift and structural testing standards that manufacturers run their assemblies through:
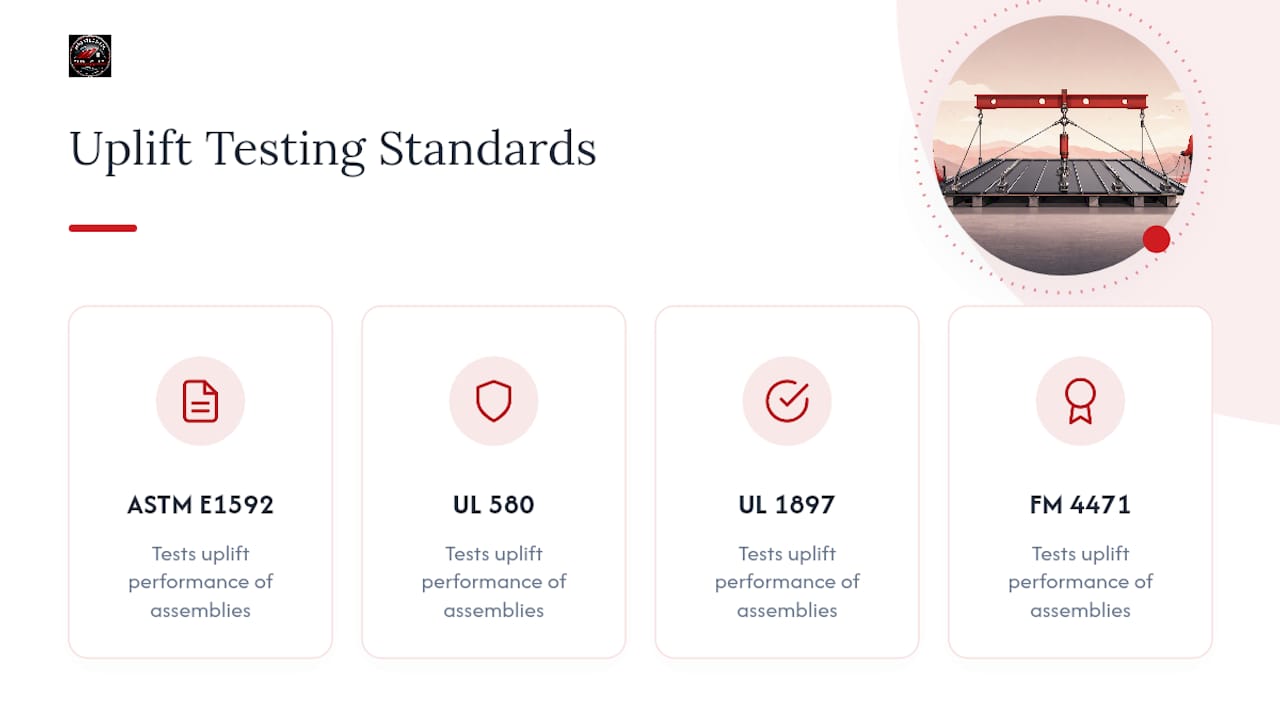
Several recognized standards guide testing of standing seam roof assemblies for uplift performance and are frequently referenced in manufacturer spacing data, including ASTM E1592, UL 580, UL 1897, and FM 4471.
When a job involves panels longer than typical runs, an unusual substrate, high-wind exposure, or concentrated rooftop loads like PV racking, request a clip analysis from the manufacturer or bring in a registered design professional. Guessing at spacing on those jobs is how warranty claims start.
How MidAtlanticMetalPanels Supports Clip Compatibility
MidAtlanticMetalPanels supplies custom-length standing seam metal roofing panels in 1" mechanical lock and 1.5" snap lock profiles, formed from Englert steel systems in 24 and 26 gauge. Contractors working through a spacing plan can request panel-specific clip compatibility notes and mock-up support before ordering. Our on-site panel manufacturing service also means panel lengths are cut to match your fixed-zone strategy exactly, not rounded to stock sizes.
What the Industry Gets Wrong About Clip Spacing
The biggest failure I see in how contractors talk about clip spacing is treating 12" to 24" OC as a rule rather than a range that has to be earned through testing. That range is a reasonable planning assumption for a bid, not a substitute for the manufacturer’s actual load table on a specific job.
The second failure is underestimating panel length as a design trigger. A lot of crews treat fixed clips as the “solid” choice and expansion clips as an afterthought for long runs, when the opposite framing is more useful: expansion clips are the default, and fixed clips are a deliberate, minimal anchor zone you place with intent. Get that fixed zone in the wrong spot, or skip the minimum fixed-clip count, and you’ve built a panel that fights its own thermal movement for the life of the roof.
If there’s one thing worth prioritizing above the spacing number itself, it’s substrate verification. A perfectly engineered clip spacing plan means nothing if the purlin spacing or sheathing thickness underneath can’t deliver the pull-out resistance the fasteners need. Check the deck before you check the spec sheet.
— Matt Catino
Get Panel-Matched Clip Specs and a Contractor Supply Quote
Once your spacing plan is set, the panels and clips still have to match exactly, gauge for gauge, profile for profile. Our company cuts that guesswork out for contractors by manufacturing custom-length panels on-site and delivering them cut-and-drop to the job site, so you’re not stocking standard lengths and cutting waste on the roof.
Whether you’re finalizing a fixed-zone layout on a long commercial run or specing a straightforward residential reroof, our team can walk through panel-specific clip compatibility before you order. Request custom-length standing seam panels for your next project, or check our on-site roll forming capabilities if you need panel lengths cut to match an unusual fixed-clip strategy. Reach out for a contractor supply quote and get your panel specs confirmed before your crew breaks ground.
Sources
For deeper spec work, the Spengler Industries fastening guide covers spacing and panel-length rules in detail. The Metal Construction Association’s clip education materials address clip fit and testing standards, and the ATAS International white paper breaks down one-piece versus two-piece clip mechanics.
- Fastening Traditional Standing Seam Roofing (Spengler Industries PDF)
- Standing seam roof clips (Metal Construction Association educational material)
FAQ
What is the recommended spacing for standing seam clips?
Most systems start in the 12" to 24" OC range, tightening to 6" to 12" OC in heavy snow or high wind zones, but the manufacturer’s tested assembly data or an engineer’s clip analysis always overrides a generic number.
Are H clips required by code?
No single code mandates a specific H clip or clip type nationwide. Requirements come from the roof assembly’s wind uplift test results under standards like ASTM E1592, UL 580, or FM 4471, which determine what clip configuration is approved for a given wind zone.
How many H clips per sheet?
There’s no fixed count that applies to every panel. Clip quantity per panel is determined by the panel’s length, width, and the engineered OC spacing for the project’s wind and snow loads, with long panels also needing a minimum fixed-clip zone, often at least four fixed clips.
How far apart are the seams on a standing seam roof?
Seam spacing is set by panel coverage width, which commonly ranges from 12" to 24" depending on the profile, and is a separate measurement from clip spacing, which determines how often each seam is fastened down along its length.