Contractors: Shop Fabricated Panels Fix Membrane to Metal Transitions

Shop fabricated cut and drop panels, two piece flashings, and a contractor QA checklist reduce field notching, callbacks, and membrane to metal leaks.
The contractor-standard way to build a durable membrane transition metal roof detail is a two-stage assembly: a base flashing that moves with the metal panel, a counterflashing fixed to the adjacent surface, and a drained secondary path behind both. Two-piece metal flashing is the default choice. Flexible membrane flashings or self-adhered membranes work when the manufacturer’s specs allow them. Almost every failure traces back to three spots: terminations, penetrations, and vertical transitions.
TL;DR:
- Two-piece metal flashings, with the base fastened to the panel and the counterflashing fixed to the wall, provide better long-term durability than flexible membrane options.
- Proper termination heights, lap dimensions, and shingling at curbs and headwalls are critical for preventing leaks and ensuring water runoff efficiency.
- Using dissimilar metals without proper isolation causes corrosion, and matching materials with compatible coatings or barriers extends transition lifespan.
- Membrane-over-metal recover is effective for sound existing structures with minimal ponding issues, while full retrofit is necessary for heavily corroded or waterlogged roofs.
- Accurate, on-site fabrication and mock-ups of complex transitions significantly reduce callbacks and improve overall roof performance.
Table of Contents
- What Are the Main Membrane-to-Metal Transition Options?
- Two-Piece Flashing vs. Flexible Membrane: Getting the Details Right
- Getting Materials, Fasteners, and Movement Right
- Installation Checklist for a Watertight Transition
- Recover Over Metal, or Full Retrofit?
- What Contractors on the Job Actually Run Into
- A Contractor-First Take on Transition Detailing
- Order Panels and Flashing Built for Clean Transitions
- Where to Verify These Details
- Sources
- FAQ
What Are the Main Membrane-to-Metal Transition Options?
Three approaches cover most low-slope jobs where a membrane roof meets a standing seam or architectural metal panel. Each solves the same core problem differently: how do you seal a rigid, moving metal profile against a flat membrane field without trapping water or fighting thermal expansion?
- Two-piece metal flashing. A base flashing fastens to the panel and moves with it; a separate counterflashing laps over it and stays fixed to the wall, curb, or parapet. These are the industry’s default for standing seam roofs because it isolates panel movement from the building structure.
- Flexible membrane flashings. Pre-manufactured or field-fabricated membrane strips tie directly into the roof membrane and wrap the metal edge. These work well at low-profile transitions but only within the tolerances the membrane manufacturer allows.
- Membrane-over-metal recover. Instead of transitioning at a joint, the membrane runs continuously over an existing metal panel, eliminating the transition entirely. This suits recover projects more than new construction.
Hydrokinetic (shedding) details, where water is meant to run off quickly, fit most sloped metal-to-membrane junctions. Hydrostatic detailing, built to resist standing water, matters more at curbs and dead-level sumps where ponding is a given rather than an exception.
Two-Piece Flashing vs. Flexible Membrane: Getting the Details Right
Get the anatomy of a two-piece flashing wrong and you’ve built a leak with a five-year delay. Get it right, and the joint outlives the roof.
- Base flashing fastens to the panel, not the structure. It rides with the metal through thermal cycles instead of tearing loose from a fixed point.
- Counterflashing laps over the base flashing by at least 2 to 3 inches and attaches to the wall, curb, or parapet independently. The two pieces never share a fastener line.
- Termination height matters as much as the lap. Flexible membrane flashings should extend high enough up the metal profile to stay above expected ponding and wind-driven rain, and tie into the membrane field with laps that meet the manufacturer’s stated minimum, not a field guess.
- Drained, two-stage joints beat single-seal reliance. Build a secondary drainage path behind the primary seal, with a weep path at the low point, so a compromised outer seal doesn’t become an active leak the same day.
- At curbs and headwalls, shingle the flashing. Lap upslope pieces under and downslope pieces over, the same logic used in hydrostatic curb detailing, so gravity does the sealing work the sealant should not have to do.
Penetrations deserve their own scrutiny. Flashings and penetrations account for nearly 80 percent of reported roof leaks, and two-piece pipe collars specifically cut down on the differential movement that splits single-piece boots over time.
Pro Tip: Mock up your worst transition detail, not your easiest one, before the crew starts full production. If the curb-to-panel joint or the parapet tie-in works on a bench sample, everything downstream on that roof goes faster.
Getting Materials, Fasteners, and Movement Right
Galvanic corrosion ruins more transitions than bad workmanship does, and it’s entirely preventable. The rule is simple: don’t let dissimilar metals sit in direct, wet contact without isolation.
- Steel panels paired with coated or stainless fasteners hold up; bare steel against copper or uncoated aluminum accelerates corrosion at the contact point.
- Use isolation tape, a compatible coating, or a physical barrier anywhere two dissimilar metals touch, especially at flashing overlaps and fastener penetrations.
- Curbs and larger flashing components should be fabricated from .080-inch 3003 aluminum or 18-gauge stainless steel, not welded Galvalume, to match the curb’s service life to the roof’s.
- Panel substrate choice affects the whole equation: Galvalume and coated steel resist corrosion well in most climates, while aluminum trades some strength for better performance in coastal or high-moisture environments.
Thermal movement is the other half of the puzzle. Floating flashings, continuous cleats, and properly sized thermal clips let panels expand and contract without transmitting stress into the flashing joint. Skip that detailing and you’ll see fastener elongation and split sealant within a few seasons, not decades.
Installation Checklist for a Watertight Transition
A membrane-to-metal junction is only as good as the sequence that built it. Skipping a step rarely shows up on the walk-through; it shows up in a service call eighteen months later.
- Confirm substrate and slope. Verify the deck condition, confirm slope direction, and check that drainage moves water away from the transition zone before any material goes down.
- Check manufacturer compatibility. Cross-reference the membrane manufacturer’s flashing details against the metal panel manufacturer’s specs, and resolve conflicts before ordering material.
- Install underlayment and self-adhered membrane at eaves. Continuous underlayment and self-adhered membrane at eave lines reduce condensation and ice-dam risk under low-slope metal assemblies.
- Set panel terminations and base flashing. Fasten the base flashing to the panel, not the wall or curb.
- Install counterflashing and membrane tie-in. Lap membrane flashing per the manufacturer’s minimum, and set counterflashing independently of the base flashing.
- Verify clearances. Confirm minimum laps, shingled curb configuration, and upslope clearance before finishing trim.
- Document with an itemized QA checklist. Photograph each transition before it’s covered, and log lap dimensions against spec.
Roughly 80 percent of reported metal roof leaks trace back to flashings and penetrations rather than field panel seams, which is exactly why this checklist weights so heavily toward joints and terminations instead of the flat field.
Recover Over Metal, or Full Retrofit?
Not every aging metal roof needs a full tear-off. Membrane-over-metal recover makes sense when the existing structure is sound, the budget favors a shorter-term fix, and the warranty terms on a recover assembly meet the owner’s expectations. It’s a faster, lower-disruption path when the metal substrate underneath is still structurally solid.
A full metal retrofit is the better call when:
- Ponding is already a chronic problem and slope can’t be corrected without new framing or tapered insulation.
- The existing panel condition shows advanced corrosion, panel distortion, or failed seams that a membrane overlay can’t bridge safely.
- The warranty or contract specifies a metal-to-metal replacement, which is common on institutional and government work.
Slope and ponding history usually decide the argument before budget does. A recover membrane laid over a roof that already holds water just relocates the ponding problem to a new surface.
What Contractors on the Job Actually Run Into
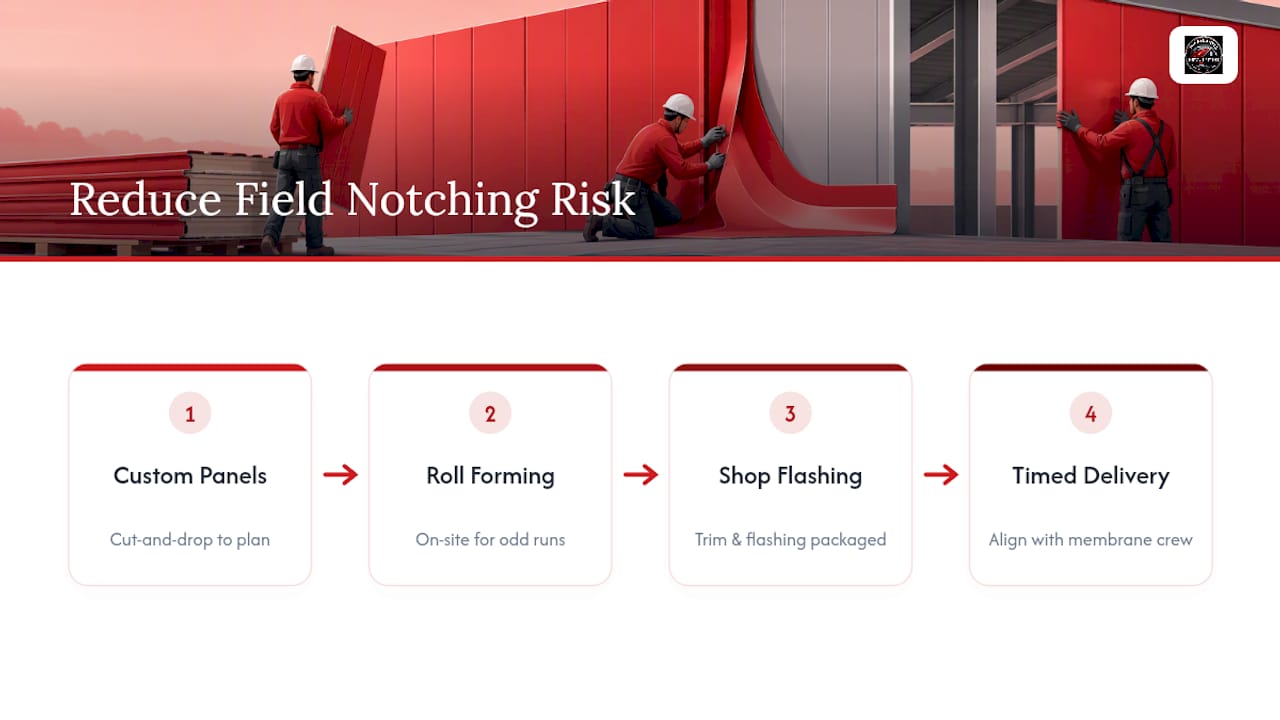
Field notching at transitions is where schedules slip. Custom cut-and-drop panels sized to the actual roof plan, paired with on-site roll forming for oddball runs, cut down on mismatched panel ends right where flashing needs to land clean. Shop-fabricated trim and flashing packages shift labor out of the field and into a controlled environment, which shows up directly in fewer callbacks. Coordinating panel delivery lead times with the membrane crew’s schedule matters more than most punch lists give it credit for.
A Contractor-First Take on Transition Detailing
Given the choice, drained two-stage details win every time over a single “perfect” seal, because no seal stays perfect for the life of a roof. What actually separates a clean transition from a warranty claim is documentation: manufacturer shop drawings reviewed before material orders go out, not after. When a transition sits at a high-risk spot, like a headwall with heavy runoff, request a field mock-up before full production starts. It costs a day. It saves a service call.
— Matt Catino
Order Panels and Flashing Built for Clean Transitions
MidAtlantic Metal Systems is the alternative to waiting on stock trim and cutting panels in the field. Custom-length 1-inch mechanical lock and 1.5-inch snap lock standing seam panels, built in 24 or 26-gauge Englert steel, arrive cut to your job’s actual dimensions instead of forcing your crew to notch and patch at every transition.
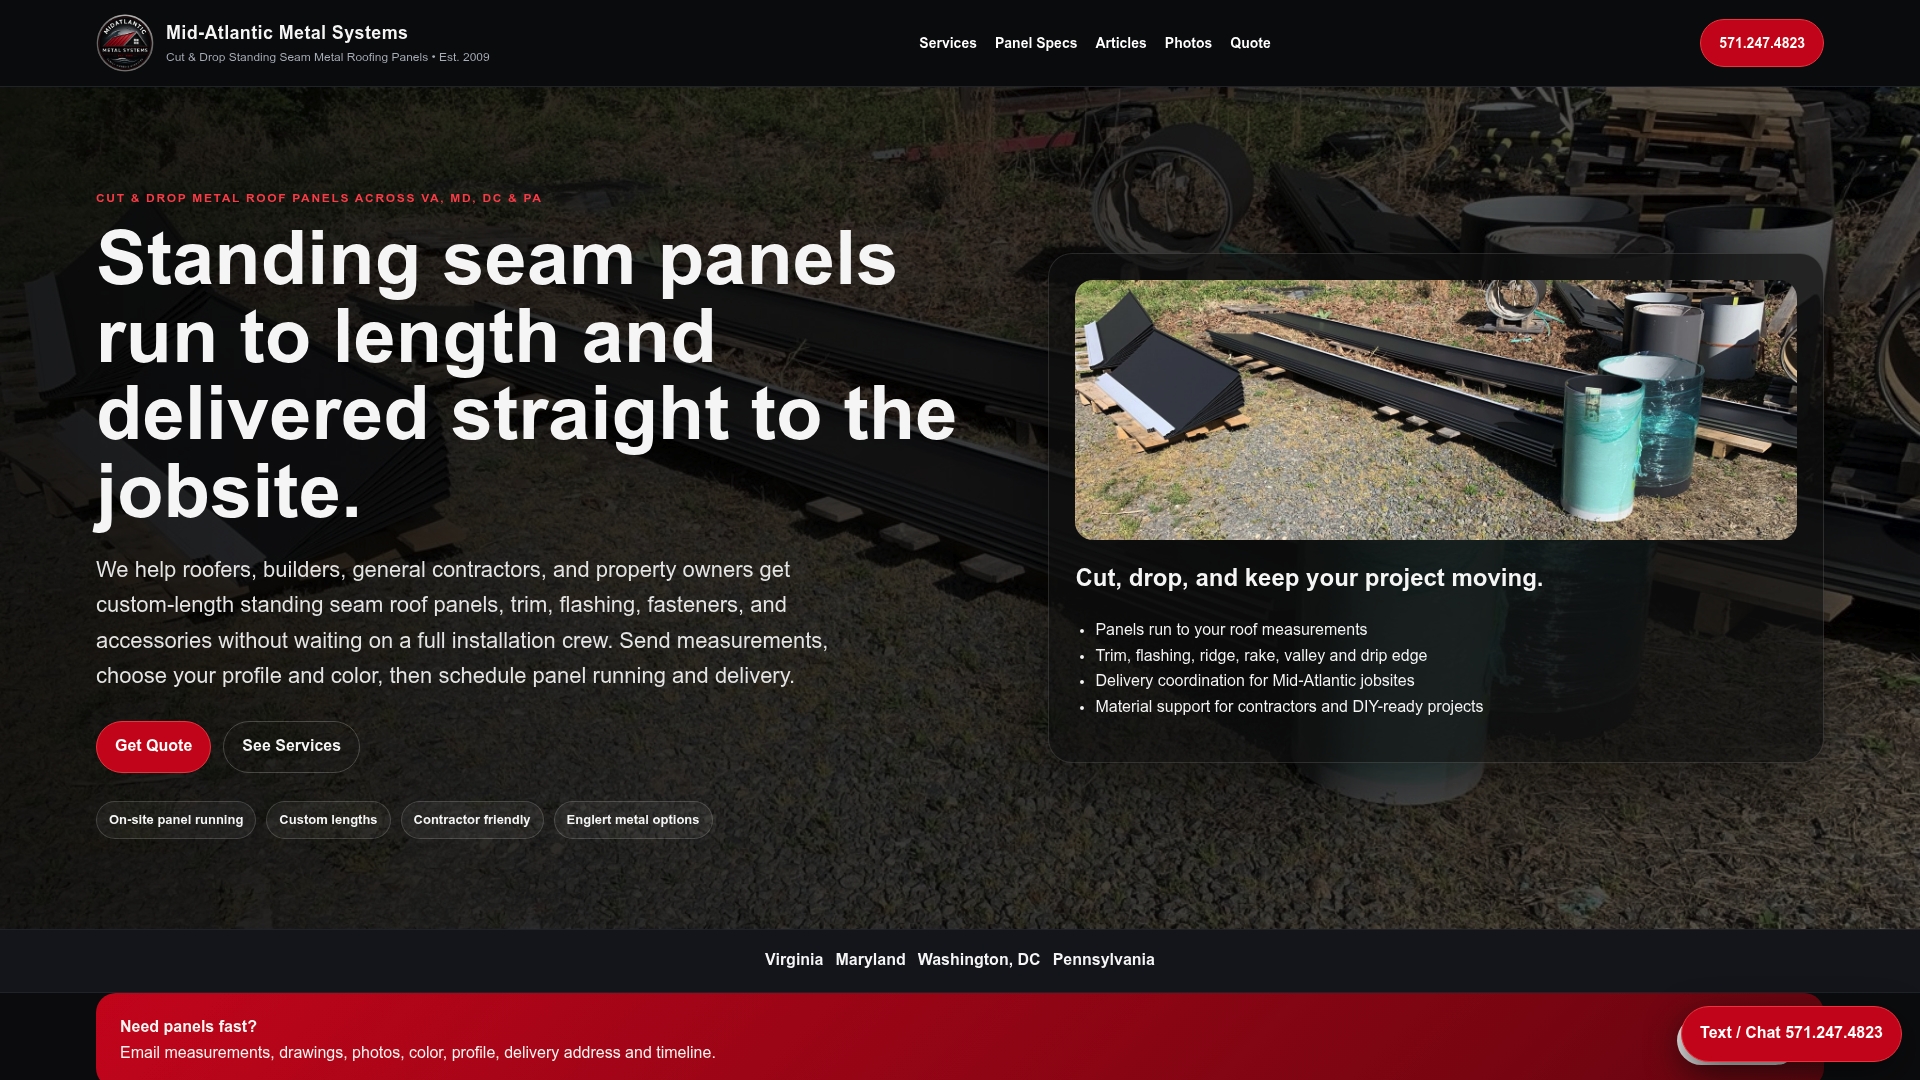
Pair that with shop-fabricated trim and flashing packages built to match your two-piece detailing plan, and on-site roll forming for runs that don’t fit a standard truck delivery. When you request a quote, specify gauge, seam type, lead time, and where you need detail support at curbs, headwalls, or penetrations. MidAtlantic Metal Systems delivers cut-and-drop panels directly to job sites across Virginia, Maryland, Washington DC, Pennsylvania, and West Virginia. Start a quote through contractor metal roofing supply and get gauge, seam type, and lead time locked in before your membrane crew shows up.
Where to Verify These Details

Cross-check field practices against Roofing Contractor’s standing seam design details, Metal Construction Association curb guidance, and the Building America Solution Center’s metal roof resources. Always defer to the manufacturer’s own installation instructions where they conflict with general guidance.
Sources
- Proper design details for standing seam metal roofs
- Selection and installation of curbs on hydrostatic low-slope coated-steel and aluminum roofing
- Metal roofs | Building America Solution Center
FAQ
Do You Need a Membrane Under a Metal Roof?
Yes, in most low-slope assemblies. Continuous underlayment plus self-adhered membrane at eave lines reduces condensation buildup and ice-dam risk under the metal panel, particularly on colder climate installs.
What Are the Downsides of Membrane Roofing?
Membrane roofs rely heavily on seam and flashing quality since the field material itself is flexible rather than rigid, and poor detailing at transitions is where nearly all failures start. Flashings and penetrations cause close to 80 percent of reported leaks, so membrane systems demand disciplined termination and lap work more than they demand a premium membrane product.
What Is the 25% Rule in Roofing?
Definitions of the re-roofing percentage rule vary by jurisdiction and code edition; it generally refers to a threshold where re-roofing a portion of a roof triggers full code compliance for the entire roof system. Check your local building code and the project’s specific jurisdiction before assuming a threshold applies.
What Is the Best Underlayment for a Metal Roof?
There’s no single universal answer, but self-adhered underlayment membranes rated for high-temperature exposure under metal are the standard recommendation in most manufacturer specs. The right choice depends on climate, slope, and the metal panel manufacturer’s own compatibility requirements, so check the panel spec sheet before ordering material.
Should I Use Two-Piece Flashing or Flexible Membrane Flashing?
Two-piece metal flashing is the default choice for most standing seam transitions because it separates panel movement from the fixed structure. Flexible membrane flashing is appropriate when the membrane manufacturer’s specifications explicitly permit it, typically at lower-profile or less exposed transitions.