Cut Field Labor and Callbacks on Standing Seam Slope Transitions
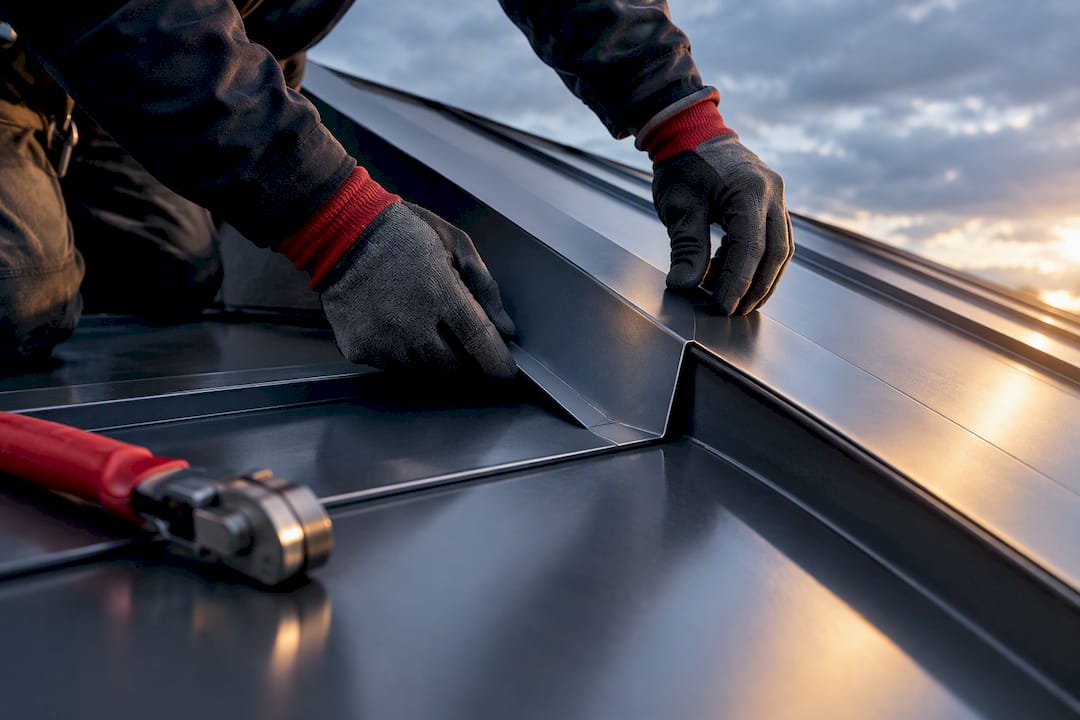
Contractor playbook for standing seam slope transitions: sequencing, tolerances, and cut and drop panels to cut field trimming and reduce callbacks.
Use a dedicated transition flashing with an offset cleat or Z-closure, sliding clips for thermal movement, and manufacturer-specified hem engagement, double-locked or mechanically seamed where slope requires it. Keep panel continuity intact across the break, and build in a positive water path with crickets or pans wherever geometry won’t let water shed on its own, as explained in How to Go a Steel Building. Get the sequence wrong and slope transitions on standing seam roofs become the callback that eats your margin.
TL;DR:
- Transition flashing on low-slope roofs below 3:12 requires continuous panels, double-locked seams, and a peel-and-stick membrane to prevent leaks.
- Proper sequencing involves supporting panels from gable to gable, using sliding clips over 30 feet, and leaving expansion gaps to accommodate thermal movement.
- Valley and pan transitions need at least 6-inch overlaps with water-shedding details like tucked edges or soldered cleats for optimal waterproofing.
- Ordering panels cut to size and with matching trim reduces field labor, minimizes bending errors, and improves transition quality.
- Drainage and correct manufacturer-specific details are crucial, as even minor low spots or improper clip choices can cause leaks within a few years.
Table of Contents
- How Do You Detail a Slope Transition on a Standing Seam Roof?
- Step-by-Step Installation Sequence for a Slope Transition
- Materials, Tools, and Component Choices That Matter Here
- Flashing Details for Common Transition Scenarios
- Sequencing, Panel Layout, and Managing Thermal Movement
- Common Mistakes, Inspection Checklist, and Watertightness Testing
- How Contractor Supply Workflows Simplify Transition Work
- Why Sequencing and Drainage Decide Whether a Transition Lasts
- Get Transition-Ready Panels Delivered Cut to Your Spec
- Sources
- FAQ
How Do You Detail a Slope Transition on a Standing Seam Roof?
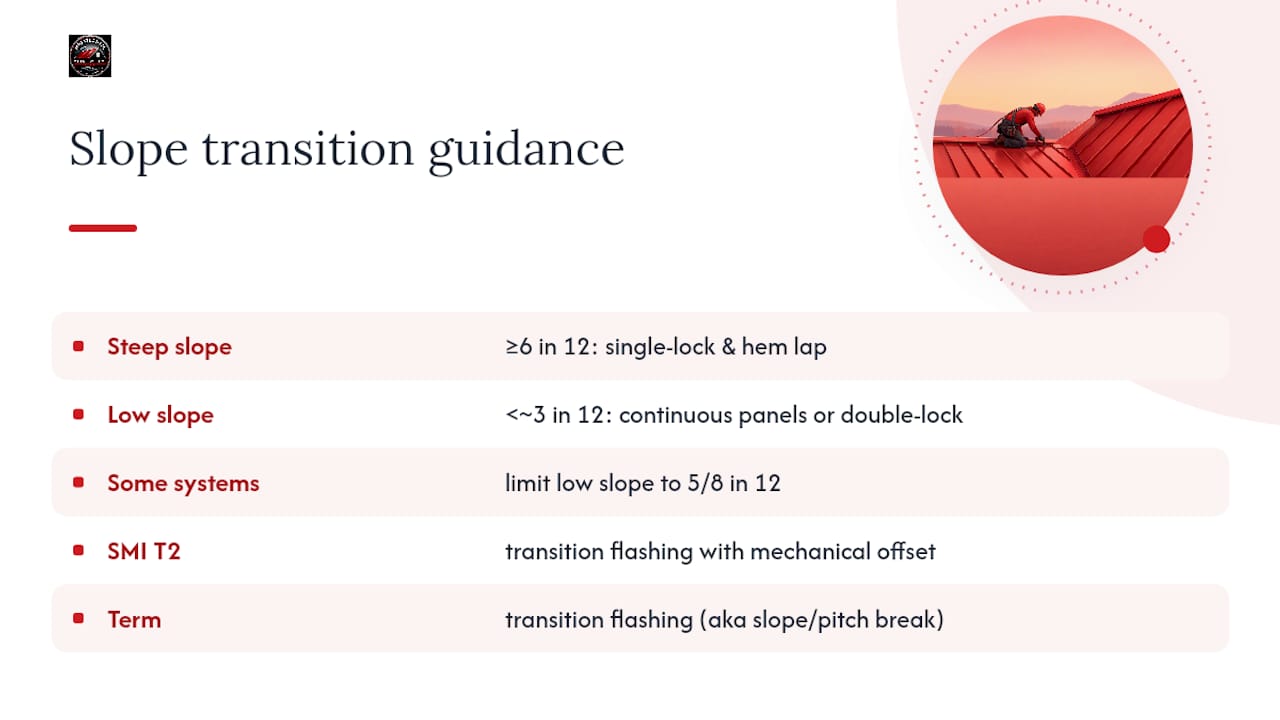
The core problem with any slope transition is simple to state and hard to execute: you’re asking two panel runs at different pitches to share one waterproof line, while steel expands and contracts underneath them all year. Sheffield Metals’ SMI Detail T2 method has become the reference point most fabricators build from because it separates the two panel runs with a transition flashing that carries its own mechanical offset, rather than trying to force one continuous panel to bend at the break.
That separation matters more on lower slopes. A roof pitched at 6 in 12 or steeper qualifies as steep slope, and water clears it fast enough that a single-lock seam and a straightforward hem lap usually holds. Drop below roughly 3:12, and the physics change. Water sits longer, wind-driven rain pushes harder against laps, and RHEINZINK’s technical guidance recommends continuous panels or double-locked seams at that point, along with additional water checks at vulnerable laps. Some manufacturers set the low-slope threshold as tight as 5/8 in 12 for certain systems, so check the panel manufacturer’s manual before you assume your standard detail applies.
The standard industry term for what you’re building is a transition flashing detail, sometimes called a slope break or pitch break detail. “Slope transition” is the phrase contractors use on the jobsite, but when you’re pulling manufacturer documentation or warranty language, you’ll see transition flashing more often. Both point to the same assembly.
Step-by-Step Installation Sequence for a Slope Transition
Rushing a transition to keep pace with the rest of the roof is how leaks happen. Here’s the sequence that holds up across most standing seam systems, adapted from the SMI Detail T2 procedure and typical manufacturer installation guides:
- Prep the deck and membrane first. Confirm the substrate is flat and dry at the break line, and extend underlayment or peel-and-stick membrane across the transition zone before any metal goes down. This is one of the few spots on the roof where a self-adhered membrane isn’t optional.
- Mark the transition line and lay out both panel runs. Snap a chalk line where the pitch changes and dry-fit panels on both sides to confirm hem alignment before fastening anything.
- Install the lower panels first. Field-bend the top edge of the lower run or prefabricate a box-end closure, depending on the panel profile and manufacturer spec.
- Set the Z-closure or offset cleat. Run a bead of butyl tape along its base, then fasten it to the high flute of the deck framing on the pattern your manufacturer’s guide specifies, typically every 12 to 16 inches.
- Install continuous support flashing across the full width of the transition, fastened directly to the structural framing rather than relying on the panels themselves for support.
- Engage the transition flashing into the lower panel’s hem, then fasten it down according to the lap and spacing your manufacturer specifies. Lyon Metal Roofing’s installation guide calls for butyl tape at every closure joint and a consistent fastener pattern through this zone, since this is where wind uplift concentrates.
- Set the upper panels and crimp the hem into the transition flashing using a hand seamer or mechanical crimper, matching the same seam profile used on the rest of the run.
- Rivet the hem at the specified spacing (commonly 6 to 8 inches on center, though this varies by manufacturer), seal any remaining laps, and run a water test before the crew moves on.
Pro Tip: Dry-fit the transition flashing on both panel runs before you commit any fasteners. A hem that’s off by even an eighth of an inch at the transition telegraphs down the entire seam line, and you won’t catch it until the panel is already locked in.
Materials, Tools, and Component Choices That Matter Here
Panel profile changes how forgiving a transition detail is. 1-inch mechanical lock panels hold their seam mechanically, which gives you a tighter, more weathertight engagement at the transition hem, and it’s the profile most manufacturers spec for lower-slope applications where seam integrity matters most. 1.5-inch snap-lock panels install faster and work well on steeper pitches, but they rely on the panel’s own memory to hold the seam closed, so transition hems need careful crimping to avoid a loose engagement point.
Clip selection follows the same logic. Fixed clips work fine on short runs with minimal thermal cycling, but any run over roughly 30 to 40 feet, or any transition zone, needs sliding clips that let the panel move without transferring stress into the seam. Get this wrong and you’ll see oil-canning or seam popping within a few seasons.
A few material notes worth locking into your spec sheet:
- Flashing metal should match or exceed the panel gauge; 24-gauge steel is the safer minimum at transition points given the added fastener load.
- Butyl tape, not caulk, belongs at every Z-closure and cleat joint; caulk dries out and cracks under thermal cycling.
- Peel-and-stick membrane is required, not optional, under any transition on slopes below roughly 3:12, per RHEINZINK’s low-slope guidance.
- Standard tooling includes a hand seamer or mechanical crimper, a pop rivet gun sized for the specified rivet diameter, and a butyl tape dispenser.
Roofs classified as steep slope start at 6 in 12, and that single number drives most of the material decisions above. Below that threshold, every choice, seam type, membrane, fastener spacing, gets more conservative.
Flashing Details for Common Transition Scenarios
Not every slope transition looks the same, and treating them all identically is where most callbacks start.
Valley and pan transitions need the most attention. Industry installation guidance calls for valley pans overlapped by at least 6 inches, with the pan edge tucked under the panel hem rather than sitting on top of it, so water sheds onto the pan instead of finding a seam to exploit. On slopes under 4:12, add a soldered cleat or extra hem engagement at the pan edges. A standard lap that works fine on a steep roof often isn’t enough once the water has more time to sit.
High-to-low transitions are the classic pitch-break scenario the SMI Detail T2 method addresses directly: offset cleat, continuous support flashing, and hem engagement on both panel runs. The offset in the cleat is what lets the upper and lower panels sit at different angles while still locking into one continuous flashing line.
Roof-to-wall and parapet conditions call for counterflashing that’s either embedded into a reglet cut in the masonry or run under existing siding, with step flashing woven into the seam pattern anywhere the wall meets shingles or another roofing material. Seam-to-shingle transitions, common on additions or dormers, need a transition flashing that laps over the shingle underlayment by at least the shingle manufacturer’s minimum, with the metal panel always on top in the water flow direction.
| Scenario | Primary flashing method | Key detail to verify |
|---|---|---|
| Valley/pan | Soldered cleat or extended hem engagement | 6-inch minimum pan overlap |
| High-to-low pitch break | Offset cleat / Z-closure (SMI Detail T2) | Continuous support flashing under cleat |
| Roof-to-wall / parapet | Counterflashing in reglet or under siding | Step flashing woven into seam pattern |
| Seam-to-shingle | Transition flashing over shingle underlayment | Metal panel laps over shingle course |
Crickets and diverters aren’t optional extras on complex rooflines. Anywhere a chimney, dormer, or wall intersection stops water from flowing straight to the eave, a custom-fabricated cricket or pan redirects that flow before it can pond against the upslope side of the obstruction.
Sequencing, Panel Layout, and Managing Thermal Movement
Panel direction and sequencing decisions made before the first fastener goes in determine whether your seams stay straight for the next 40 years.
- Run panels gable-to-gable, never from the middle out. Starting in the center and working both directions doubles your chance of ending with a mismatched final panel width on one side.
- Space clips according to your wind load and panel width, typically 12 to 24 inches apart, and switch to sliding clips on any run exceeding 30 to 40 feet or crossing a slope transition. AISI’s design guidance on purlin-supported standing seam systems notes that clip type and bracing assumptions directly affect how much load the purlin line actually carries, so don’t assume a fixed clip provides the same structural bracing a sliding clip does.
- Leave an expansion gap at hem ends, generally an eighth to a quarter inch depending on panel length and steel gauge; both 24-gauge and 26-gauge steel move enough seasonally that a tight hem with zero clearance will eventually buckle.
- Brace long, site-formed panels at mid-span during handling and installation, and always lift from the low flute rather than the panel edge to avoid introducing a twist that shows up as a wavy seam line later.
Common Mistakes, Inspection Checklist, and Watertightness Testing
The same handful of errors show up on failed transitions again and again: skipping the support flashing and letting the transition rely on panel stiffness alone, using caulk instead of butyl tape at the closure, undersized rivet spacing at the hem, and forgetting the expansion gap on long runs. Most of these trace back to crews treating the transition like a standard seam lap instead of its own detail.
Before calling a transition complete, run through this quickly:
- Flashing laps meet minimum overlap (6 inches at valleys and pans)
- Fastener and rivet spacing matches the manufacturer’s specified pattern
- Butyl tape or sealant is continuous with no gaps at closures
- Water has a clear path off the transition with no ponding at cricket bases
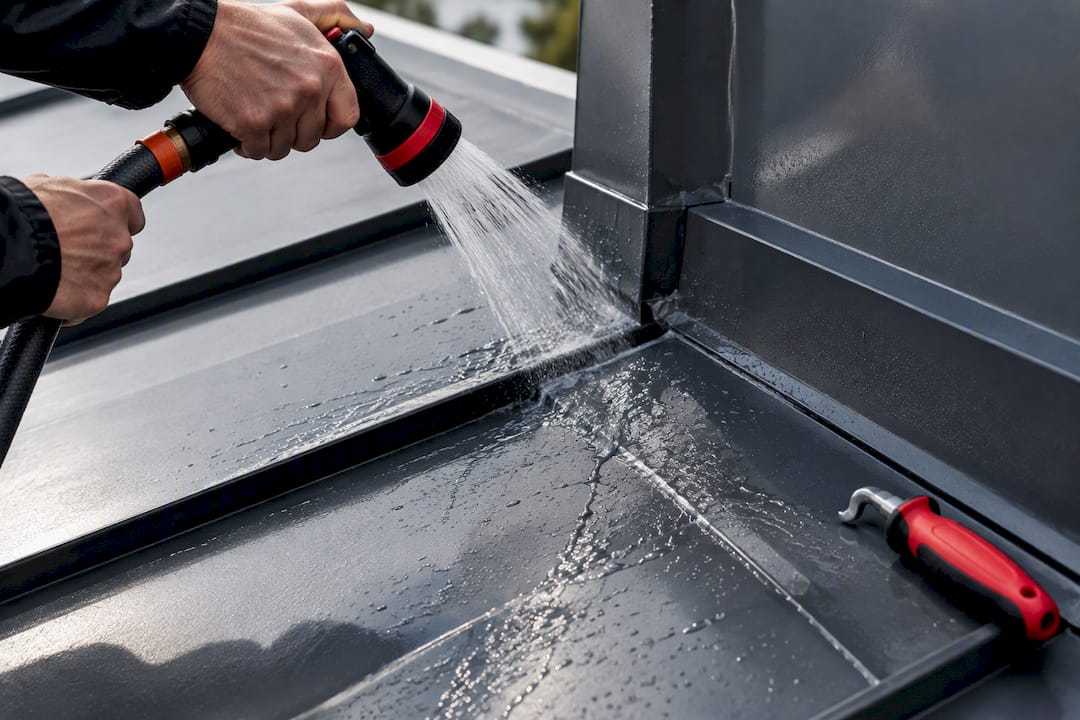
Run a hose test starting at the low point and working upslope in stages, watching the underside from the attic or exposed deck for any moisture intrusion. A basic misting test over 15 to 20 minutes per zone catches most lap and seam failures before the roof is buttoned up.
Pro Tip: If a hose test reveals a leak at an existing transition, you can often fix it by re-sealing the closure and adding a supplemental flashing lap without pulling panels, but only if the support flashing underneath is still sound. Check that first.
How Contractor Supply Workflows Simplify Transition Work
Field-bending hems and fabricating closures on-site eats hours you don’t get paid for. Ordering cut-and-drop panels sized to your actual transition line means the panel arrives ready to set, cutting down the seam misalignment risk that comes from bending hems by hand in the field. Pairing that with a custom trim and flashing package matched to your panel profile keeps hem tolerances consistent across the whole transition assembly. For long runs or low-slope sections that need continuous panels, on-site roll forming eliminates seams entirely across the run. MidAtlantic Metal Systems publishes technical detail sheets alongside these services for contractors coordinating a transition spec ahead of delivery.
Why Sequencing and Drainage Decide Whether a Transition Lasts
If I had to rank the three things that separate a transition that lasts decades from one that leaks in year three, drainage comes first. A transition that looks clean on installation day but leaves even a slight low spot for water to collect will fail, often slowly enough that nobody notices until the deck underneath is already compromised.
Second is thermal movement. Too many crews treat clip selection as an afterthought instead of a structural decision, and seam fatigue at a transition point shows up faster than anywhere else on the roof because that’s where two panel runs are already fighting each other mechanically.
Third: read the manufacturer’s installation manual for the specific detail you’re building, every time, even on your hundredth transition. Details change between product lines. Inspect after the first hard storm, not just at final walkthrough.
— Matt Catino
Get Transition-Ready Panels Delivered Cut to Your Spec
Most of the labor lost on a slope transition happens in the field, bending hems, fabricating closures, and waiting on trim that doesn’t quite match the panel profile. MidAtlantic Metal Systems cuts that out at the source: order 1-inch mechanical lock or 1.5-inch snap-lock panels sized to your transition line, pair them with a custom trim and flashing package built to match your hem tolerances, and skip the guesswork on whether the closure will actually engage cleanly on site.
For long runs or low-slope sections where continuous panel is the right call, on-site roll forming delivers seamless panel straight off the trailer, no factory lead time, no length limits from standard coil stock. Every order ships through cut-and-drop delivery direct to the jobsite across Virginia, Maryland, Washington DC, Pennsylvania, and West Virginia, with technical support available to talk through your specific transition detail before you order. Request a transition trim package or a technical consultation through contractor supply to get the next job’s material list dialed in before your crew shows up.
Sources
Verify tolerances against the specific panel manufacturer’s manual before installing. Core references: RHEINZINK technical documentation, Sheffield Metals SMI Detail T2, and AISI purlin design guidance.
- RHEINZINK standing seam technical document (low slope recommendations)
- Standing seam installation guide - Lyon Metal Roofing (installation detail excerpts)
- AISI design example – purlin line supporting a standing seam roof
FAQ
What Is the Minimum Slope for a Standing Seam Roof?
Most standing seam systems require at least 3:12 for standard single-lock seams, though some manufacturers permit slopes as low as 5/8 in 12 with double-locked seams and added peel-and-stick membrane at critical laps, according to RHEINZINK’s technical guidance. Always confirm the exact threshold in your specific panel manufacturer’s installation manual, since it varies by system.
How Do I Transition From Standing Seam to Shingles?
Install a transition flashing that laps over the shingle underlayment by at least the shingle manufacturer’s minimum, with the metal panel positioned on top in the direction water flows. Weave step flashing into the seam pattern at any point the two materials meet along a wall or dormer edge.
What Roof Slope Is 22.5 Degrees?
A slope pitched at or above 6 in 12 qualifies as steep slope. At that pitch, standard single-lock seams and typical hem engagement generally perform well without the extra water checks required on lower-slope sections.
What Are the Disadvantages of a Standing Seam Roof?
Standing seam systems cost more upfront than shingles and require installers experienced with seaming tools, clip spacing, and thermal expansion detailing. Improperly detailed transitions, valleys, and penetrations remain the most frequent failure points on these roofs, which makes correct installation at those spots more important than on a typical asphalt shingle job.