Cut 5–10% Waste: Standing Seam Panel Layout for Contractors
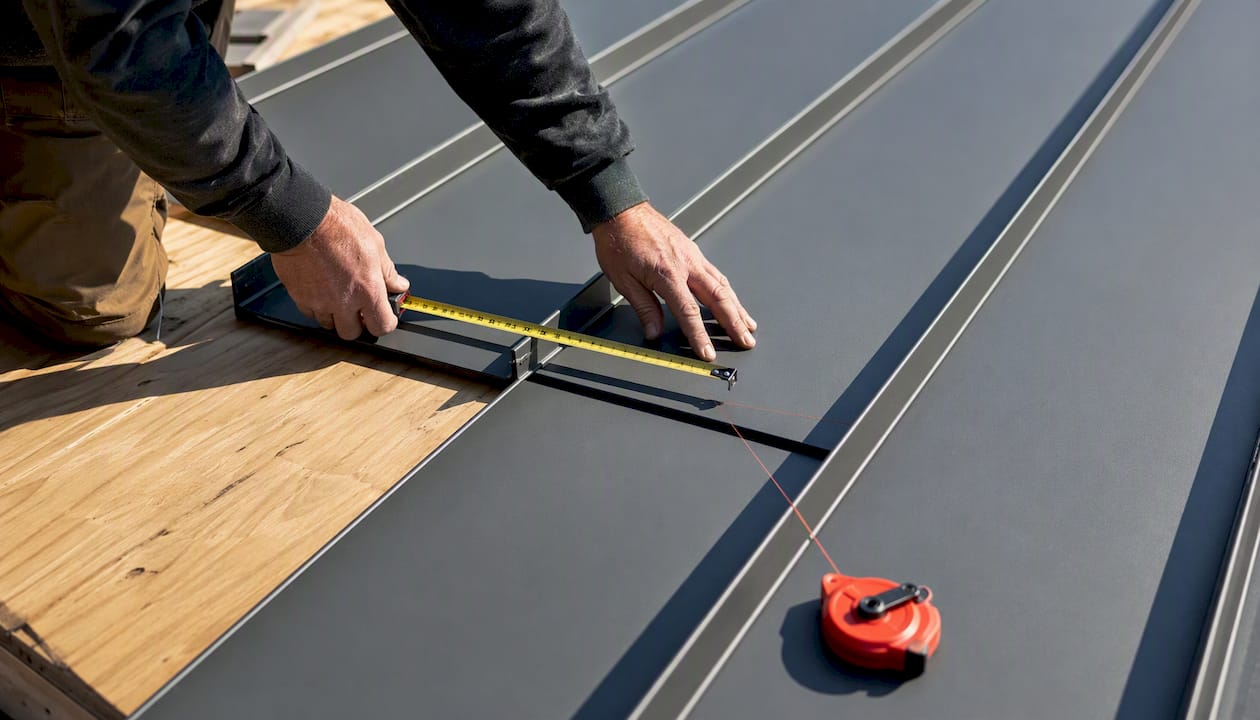
Jobsite-first standing seam panel layout for contractors. Practical squaring methods, sequencing, and when cut to length or on site roll forming...
Pick your sheeting direction first, then calculate panel count by dividing roof width by net panel coverage, adding a 5 to 10 percent waste buffer. Snap a taut square reference line at the eave before a single panel goes down, and order cut-to-length panels wherever the run allows killing mid-roof splices before they start. Check clip spacing and accumulated coverage every 4 to 6 runs so small errors never compound into a visible defect at the ridge.
TL;DR:
- Accurate layout requires measuring and marking every penetration before installation to prevent seams passing through vents or pipe boots.
- Keeping panel runs within a 1/8 inch coverage tolerance across the entire length helps avoid difficult mid-roof splices or visible misalignments at the ridge.
- Ordering panels cut to your exact eave-to-ridge dimensions prevents unnecessary splices and reduces field cutting, speeding up installation.
- Using proper tools and checking squareness every 4 to 6 panel runs are essential to prevent crooked roofs and visible seam misalignments.
- Following manufacturer guidelines for clip spacing and fastener torque ensures panels withstand local wind loads and maintain proper coverage.
Table of Contents
- Panel Layout Standing Seam Basics: Counting Panels and Picking a Direction
- What Tools Keep a Standing Seam Layout Square?
- Laying Out Panels Around Pipes and Roof Penetrations
- How Do You Handle Hips, Valleys, and Rake Transitions?
- Checking Coverage and Modularity Before It’s Too Late
- Panel Lengths and Ordering: Cut-to-Length vs. Roll Forming
- What Clip Spacing and Fasteners Does Your Layout Need?
- Prepping the Deck and Sequencing Your Panel Runs
- How Mid-Atlantic Metal Panels Supports Accurate Layouts
- What Contractors Get Wrong on Layout Day
- Order Panels That Match Your Layout, Not the Other Way Around
- Manufacturer Guides Worth Keeping on Hand
- Sources
- FAQ
Panel Layout Standing Seam Basics: Counting Panels and Picking a Direction
Every layout starts with the same math. Take your roof width and divide it by the panel’s net coverage, not its flat width, since the seam overlap eats into that number. A wide roof using a panel with 16 inch net coverage needs a number of panels calculated by dividing the roof width by panel coverage before you add anything for waste. Tack on 5 to 10 percent for cuts, mistakes, and odd angles, and you land closer to 32 or 33 panels ordered, per the coverage guidance Metal America outlines for its QuickLoc profile.
Sheeting direction is not a coin flip. Running panels the wrong way forces field splices right where they are most visible, usually at the ridge or a prominent rake. Pick the direction that keeps seams parallel to the roof’s dominant sightline from the street and minimizes the number of cut panels needed at transitions.
Starter panel width matters just as much as direction. You have two real choices:
- Use a rake starter plate and let the first panel run full width, adjusting only the final closure panel.
- Start on a half module or calculated fraction so both rake edges finish symmetrically, which looks better on gable roofs viewed from the ground.
Whichever you choose, lock it into your layout drawing before ordering panels. Changing your mind mid-install is how crews end up with a narrow sliver panel nobody wants to install.
What Tools Keep a Standing Seam Layout Square?
You need five things on the roof before the first panel lands: a chalk line, a string line, a long tape, a laser alignment tool, and a rigid square reference for the starter run. Skipping any one of these is how a roof that looks fine at the eave ends up crooked by the ridge.
- Snap a chalk line at the starting rake or eave and treat it as gospel for the entire run.
- Check squareness using diagonal measurements, the same 3-4-5 method carpenters use for foundations, before you fasten more than a few panels.
- Re-verify alignment every 4 to 6 panel runs using the string line as a running reference, a practice Sheffield Metals demonstrates in its layout walkthroughs.
- If a run has drifted, correct it gradually across the next several panels rather than forcing one panel to absorb the whole error.
Pro Tip: Never wait until the ridge to check square. By then you’re choosing between a visible dogleg seam or ripping out panels you already fastened. Catch drift at run 4 or 5, not run 20.
Laying Out Panels Around Pipes and Roof Penetrations
Measure and mark every penetration location on the deck before a panel goes down, not after. Guessing at pipe boots after panels are installed is how you end up with a sidelap seam running straight through a vent stack, which is one of the harder spots to seal on the whole roof.
- Mark penetration centers on the deck and cross-reference against your panel layout drawing to see which panel will land on each one.
- Avoid placing a sidelap directly at a penetration whenever the layout allows a small shift in starting position.
- Use butyl tape and manufacturer closures at every penetration, and pre-cut flashings before you reach that section of roof.
- Sequence your cuts so the final seam position near each penetration is predictable, not a surprise you discover with a panel in your hands.
- If a penetration lands on a seam anyway, dry-fit the flashing before you seam the panel, since correcting it after seaming means unlocking and relocking hardware you’d rather leave alone. Custom trim and flashing packages cut down on the guesswork here since pieces arrive matched to your panel profile.
How Do You Handle Hips, Valleys, and Rake Transitions?
Hips and valleys are where sloppy layout planning gets exposed fastest, because two roof planes meet and any seam mismatch is obvious from the ground.
When you approach a hip, start the opposing roof plane at its long end so rib spacing lines up across the hip line instead of drifting out of sync. For valleys, mark a line 3-inch up from the valley center on both sides before setting panel edges, the offset Signature Steel recommends for consistent valley sealing.
- Confirm seam alignment across the ridge before fastening the last few panels on either side.
- Trim panel ends cleanly at valley and hip lines rather than forcing an overlong panel to bend into place.
- Double-check that your 3 inch valley offset held consistently down the full run, since a single panel that drifted inward will show as a pinch point.
Checking Coverage and Modularity Before It’s Too Late
Hold panel width to within a 1/8 inch tolerance per panel, and check accumulated coverage at the eave, ridge, and end splices, the standard Metal Panels, Inc.'s installation guide sets for maintaining modularity across a run. That eighth of an inch sounds small until you multiply it across 30 panels, where it becomes nearly 4 inches of drift by the time you reach the far rake.
- Measure every 4 to 6 panel runs using a taut tape held parallel to the eave, always on the same seam side for consistent readings.
- If you find an off-module condition, correct it by spreading the adjustment equally across the next 4 to 6 runs instead of forcing one panel to eat the whole gap.
- Recheck at the ridge before final closure, since ridge caps and closures have almost no tolerance for a panel run that arrived narrow or wide.
Catching drift early is far cheaper than discovering it at the ridge with a crew standing around waiting on a fix.
Panel Lengths and Ordering: Cut-to-Length vs. Roll Forming
Order eave-to-ridge lengths whenever the roof geometry allows it. Custom panels manufactured up to lengths depending on the system eliminate horizontal seams entirely on most residential and light commercial runs, a length range Metal America confirms for its cut-to-length panels.
- Cut-and-drop panels reduce field cutting, cut down on splice count, and speed up install day since crews aren’t fabricating on the roof.
- On-site roll forming earns its place on very long runs or geometrically complex roofs where transporting a 50 foot panel isn’t practical.
- When placing your order, specify eave overhang, rake conditions, and any planned splice location so the fabricator delivers exactly what your layout drawing calls for.
Cut-and-drop delivery built around your exact measurements is the single fastest way to avoid the ordering guesswork that leads to mismatched panel counts on delivery day.
What Clip Spacing and Fasteners Does Your Layout Need?
Clip spacing typically runs within a range on center depending on wind zone and panel span, tightening up considerably in edge zones, according to AMSI Supply’s clip spacing guide for northern climates.
- Increase clip density near eaves, rakes, and hips, where uplift forces concentrate during high wind events.
- Match fastener length to your substrate, whether that’s plywood decking or a purlin system, and follow manufacturer torque specs rather than eyeballing it.
- Confirm final spacing against the system-specific installation manual since wind zone ratings shift these numbers more than most crews expect.
Prepping the Deck and Sequencing Your Panel Runs
Getting the layout right on paper means nothing if the deck underneath is uneven or the sequence is backward.
- Inspect the deck for soft spots or fastener protrusions and repair before laying underlayment.
- Install underlayment and ice and water protection where local code requires it, completing this step before layout marking begins.
- Work eave to ridge, finishing each panel run completely before starting the next one, which keeps your reference lines straight and lets you place insulation ahead of the following run.
- Leave protective film on panels until just before seaming, and secure loose panels against wind on breezy days since a lightweight panel can act like a sail.
How Mid-Atlantic Metal Panels Supports Accurate Layouts
Specifying exact eave-to-ridge dimensions on your order is the fastest way to avoid a mid-roof splice, and that’s exactly what MidAtlanticMetalPanels builds around. Cut-and-drop delivery means your panels arrive pre-cut to your measurements instead of forcing your crew to trim on the roof.
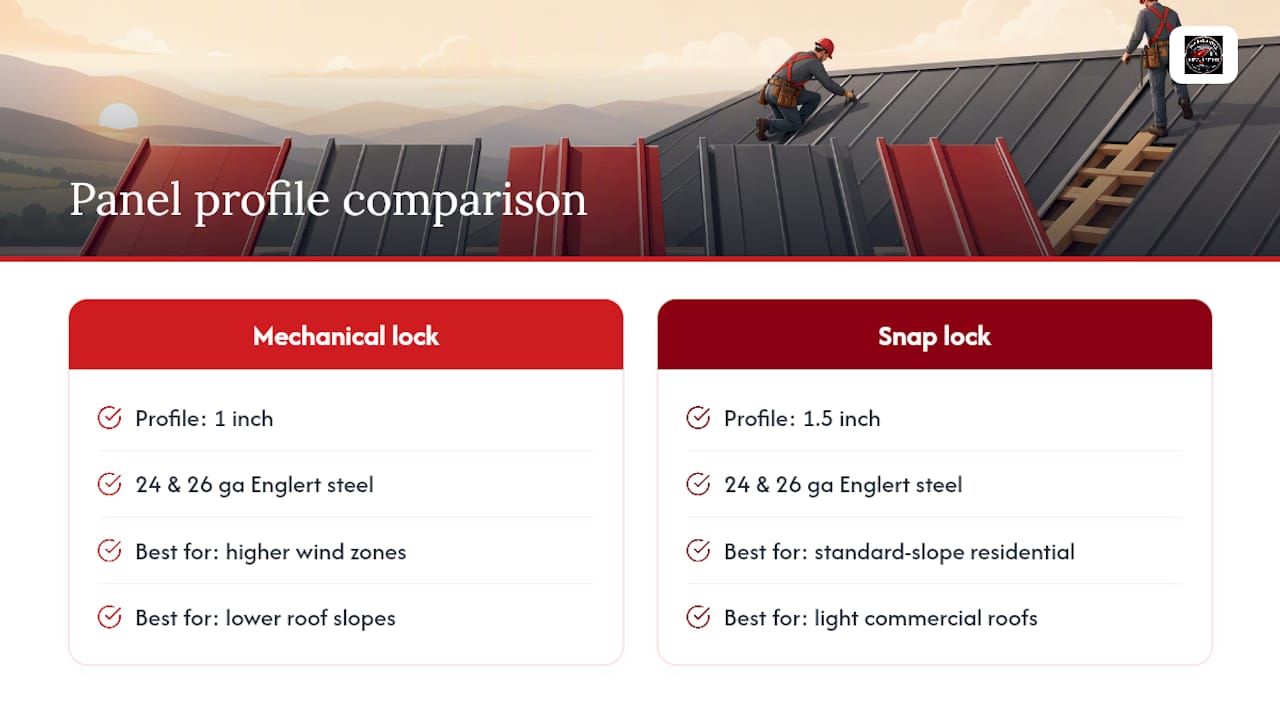
For long or geometrically demanding runs, on-site roll forming produces panels at the job site itself, useful when transporting extreme lengths isn’t practical. MidAtlanticMetalPanels manufactures both 1 inch mechanical lock and 1.5 inch snap lock profiles in 24 and 26 gauge Englert steel. Mechanical lock suits higher wind zones and lower slopes needing extra seam security, while snap lock installs faster on standard-slope residential and light commercial roofs.
What Contractors Get Wrong on Layout Day
The three mistakes I see most: skipping periodic coverage checks, underordering panel length out of habit, and leaving penetrations unplanned until a panel is already in hand. Fix it by checking every few runs, ordering cut lengths when geometry allows, and dry-fitting flashings before you seam. If you’re unsure on a tricky roof, request a takeoff review or sample panels before committing to a full order.
— Matt Catino
Order Panels That Match Your Layout, Not the Other Way Around
Some suppliers offer panels cut to exact eave-to-ridge dimensions, coordinate trim and flashing to match, and provide on-site roll forming for runs that are too long or complex for standard delivery.
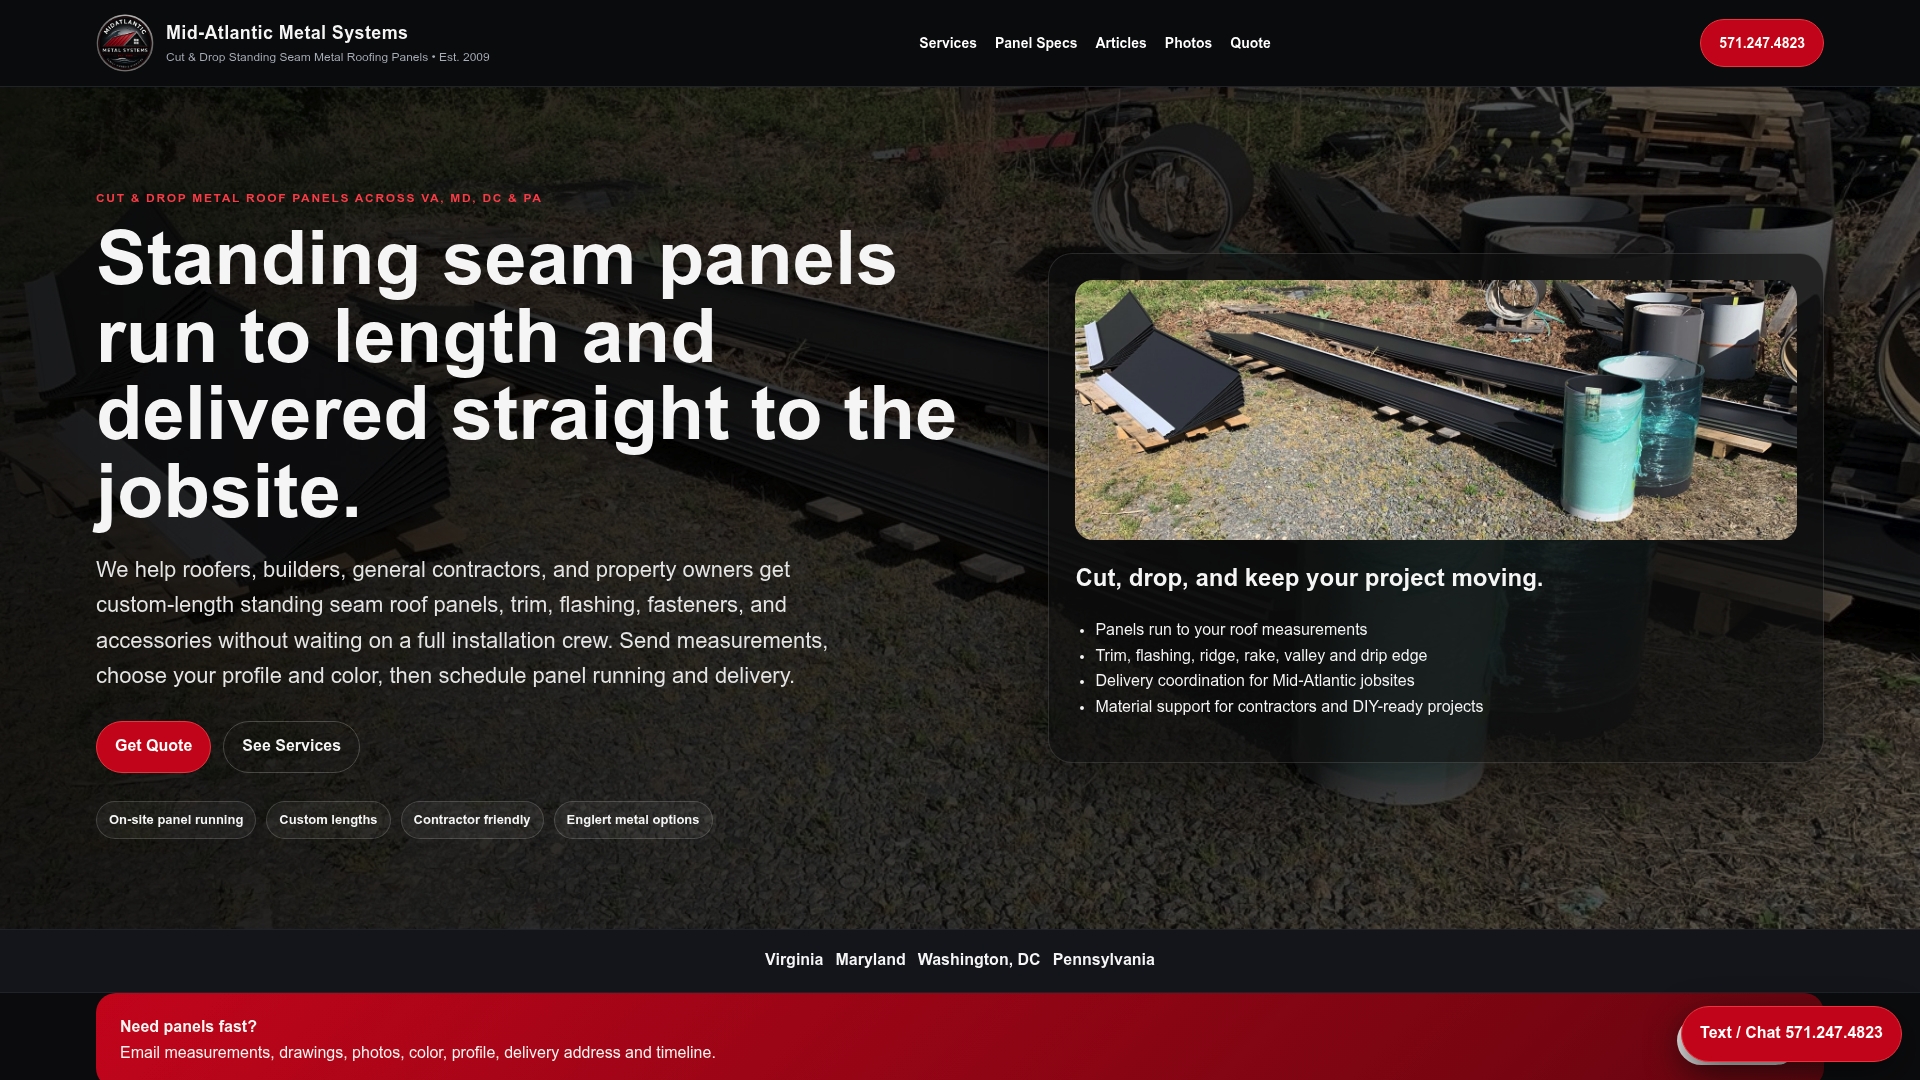
That means fewer mid-roof splices, less field cutting, and a crew that spends install day installing instead of correcting layout problems that should have been solved at the order stage. Whether using 1 inch mechanical lock or 1.5 inch snap lock profiles, panels can be built to your takeoff rather than generic stock lengths. Start your next project by requesting a quote through our standing seam ordering page and get panel lengths cut to match your actual roof, not the closest size on a shelf.
Manufacturer Guides Worth Keeping on Hand
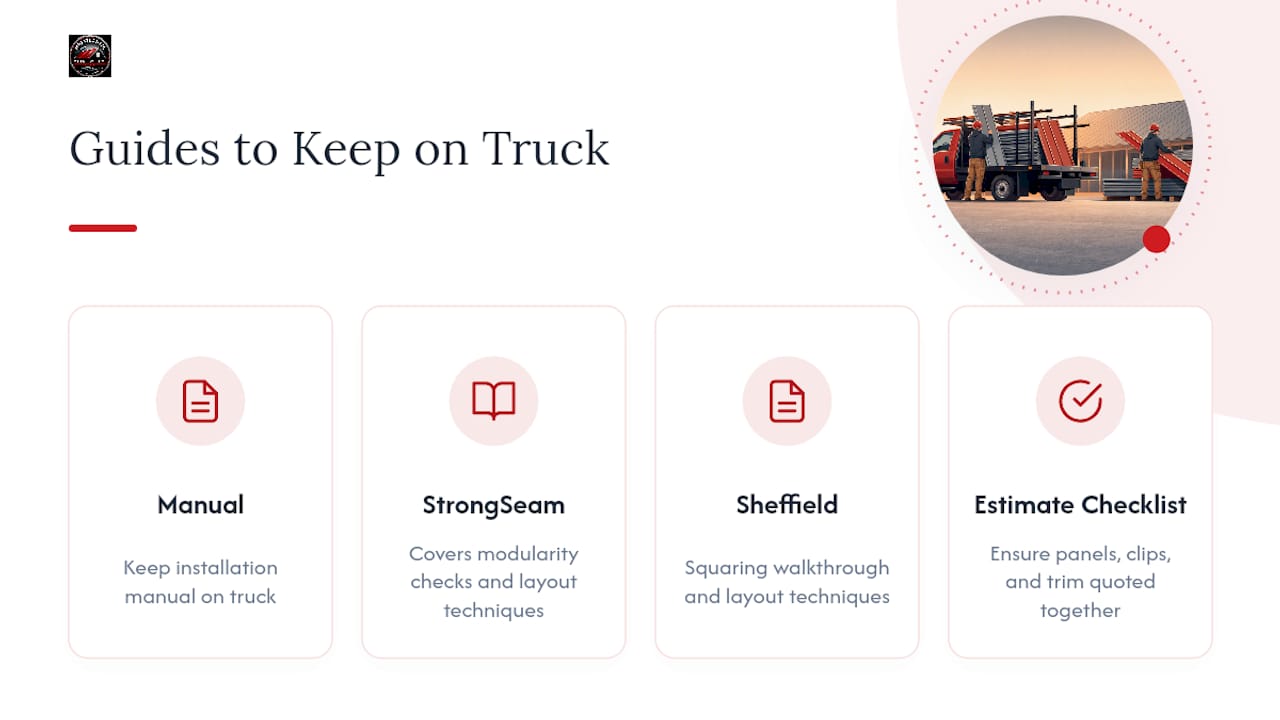
Final tolerances and clip spacing are system-specific, so keep the manufacturer’s installation manual on the truck. The StrongSeam installation guide and Sheffield Metals’ squaring walkthrough both cover modularity checks and layout techniques worth reviewing before a big job. For material estimating, a roof estimate checklist helps make sure panels, clips, and trim all get quoted together instead of getting missed piecemeal.
Sources
- StrongSeam installation guide (Metal Panels, Inc.)
- How to Lay Out and Square Metal Roofing Panels - Sheffield Metals
- QuickLoc Standing Seam Panel: Features, Specs, and Best Uses | Metal America
- Standing Seam Roof Clip Guide for Northern Climates - AMSI Supply
FAQ
What Is a Standing Seam Panel?
A standing seam panel is a metal roofing panel with vertically oriented side seams and concealed fasteners, meaning no exposed screw heads sit on the weather side of the panel, as S-5!'s technical overview explains.
What Clip Spacing Should Standing Seam Panels Use?
Clip spacing generally runs 12 to 24 inches on center depending on wind zone and panel span, with tighter spacing required near eaves and rakes, per AMSI Supply’s guidance. Always confirm the exact number against your specific system’s installation manual.
Is an R-Panel or Standing Seam Better?
Standing seam offers concealed fasteners and a cleaner appearance with better long-term watertightness, while exposed-fastener R-panel systems install faster and cost less upfront. For most architectural and residential projects where appearance and seam longevity matter, standing seam is the stronger choice, which is why MidAtlanticMetalPanels focuses on 1 inch mechanical lock and 1.5 inch snap lock profiles rather than exposed-fastener systems.
What Are the Disadvantages of Standing Seam Roofing?
Standing seam typically costs more than exposed-fastener alternatives and requires more precise layout planning, since seam alignment and coverage tolerance directly affect the finished look. It also demands more skilled labor for seaming and flashing work around penetrations, hips, and valleys than simpler panel systems.
How Do I Avoid Mid-Roof Splices in My Layout?
Order cut-to-length panels sized to your exact eave-to-ridge measurement whenever the roof geometry and manufacturer’s maximum length allow it. MidAtlanticMetalPanels’ cut-and-drop service fabricates panels to those specific dimensions to eliminate horizontal seams on most standard runs.