Avoid Callbacks: Match Standing Seam Clips to Profile, Run, Substrate
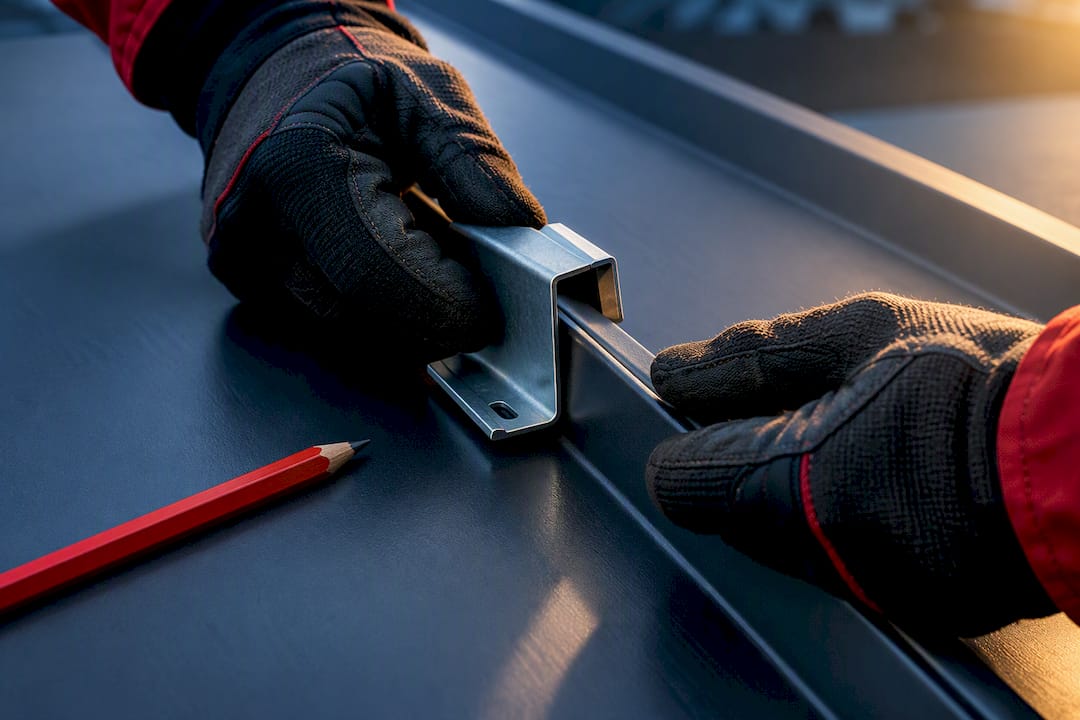
Match standing seam clips to panel profile, run length, and substrate. Use proper materials and fasteners to avoid corrosion and callbacks.
Standing seam clips fall into three practical families: fixed, floating (one-piece and two-piece), and specialty seam clamps. Choose floating or sliding clips for long panel runs where thermal movement matters, and reserve fixed clips for engineered points of fixity only. On aluminum panels, specify stainless clips rather than galvanized ones to avoid corrosion issues down the line.
TL;DR:
- Use fixed clips only at engineered points like the ridge, and keep floating clips free to accommodate thermal expansion over long runs.
- Match clip materials carefully to panel types, with stainless steel recommended for aluminum panels to prevent galvanic corrosion in coastal environments.
- Confirm clip compatibility and rated movement allowances from manufacturer data sheets based on the panel profile and project’s wind uplift requirements before ordering.
- Proper clip spacing must account for run length, thermal growth, and wind loads, with tighter spacing at eaves, ridges, and corners.
- Avoid common mistakes such as pinning both ends of a run or mixing clip types, and always document and verify key details on shop drawings before installation.
Table of Contents
- Fixed, floating, and specialty clip types explained
- Which clip materials work with which panel finishes
- Sizing clips and spacing them for thermal movement
- Choosing fasteners for wood, steel, and other substrates
- Matching clamps to snow, solar, and wind loads
- Where installers get standing seam clips wrong
- A checklist for specifying the right clip on your next job
- Practical resources for matching clips to your panel run
- Prioritize documented compatibility over convenience
- Sources
- FAQ
Fixed, floating, and specialty clip types explained
Every standing seam clip does one of two jobs: it holds the panel down while letting it move, or it anchors the panel at a fixed point. Getting that distinction backward is where most callback problems start.
Fixed clips create a controlled point of fixity, a spot where the panel is intentionally locked so it cannot slide. These clips are placed at strategic locations, usually the ridge or high side of a run, and nowhere else. They are not meant to be scattered along a run for extra holding power.
Floating clips come in two configurations, and the difference between them is important for compatibility. One-piece clips slide freely within the panel seam and are common on snap-lock profiles, where the panel snaps together without a mechanical seaming tool. Two-piece clips, sometimes called floating clips in trade literature, are seamed directly into the panel using a mechanical seamer, with a slotted interface built into the clip body that permits limited, controlled movement. One-piece clips generally allow more unrestricted thermal growth, which is why they pair naturally with snap-lock systems, while two-piece clips are the standard choice for mechanically seamed profiles that need a tighter mechanical connection at the seam.
Articulating clips, sometimes marketed as low-floating or high-floating clips, add a hinge or pivot point that helps the panel ride over minor substrate irregularities without binding. These matter most on retrofit jobs or over insulation, where deck flatness cannot be guaranteed and clearance above the insulation layer affects how much the clip can flex before it contacts the panel pan.
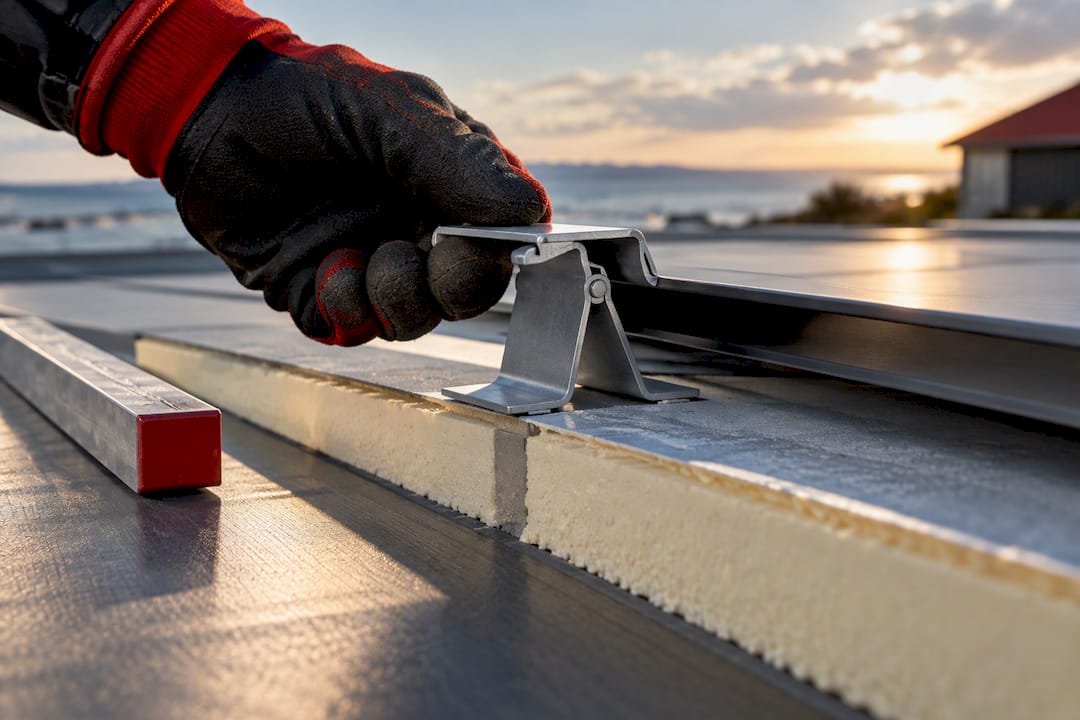
Specialty seam clamps are a separate category entirely. They are not designed to fasten panels to the structure. Rather, they clamp onto an existing standing seam to support snow guards, solar racking, or wind-retrofit hardware, transferring point loads into the seam rather than through new roof penetrations.
Matching clip type to panel profile is not optional. A clip built for a 1-inch snap lock profile will not seat correctly on a 1-inch mechanical lock seam, and vice versa.
- Fixed clips anchor the panel at one deliberate point, usually the ridge or high side.
- One-piece floating clips slide freely and suit snap-lock profiles.
- Two-piece floating clips seam into mechanically locked panels with a slotted movement path.
- Articulating clips flex to accommodate deck irregularities and insulation clearance.
- Seam clamps grip an existing seam to carry solar, snow, or wind hardware loads.
Which clip materials work with which panel finishes
Material mismatches are one of the fastest ways to void a roofing system’s performance and its warranty. The pairing rules are straightforward once you know the exceptions.
Galvanized and Galvalume steel clips generally pair well with steel panels of the same coating family, and manufacturer guidance treats galvanized clips as compatible with steel panels, provided the fasteners used are zinc coated at a minimum. The problem arises with aluminum panels: pairing them with galvanized steel clips sets up galvanic corrosion between dissimilar metals, so manufacturers recommend stainless clip systems for aluminum panels instead.
Within stainless options, the choice between 304 and 316 comes down to environment. 304 stainless handles typical inland exposure, while 316 stainless includes molybdenum for better resistance in coastal or heavily salted environments, where airborne chloride accelerates pitting corrosion on lower grades.
- Steel panels generally pair with galvanized or Galvalume clips and zinc-coated fasteners.
- Aluminum panels call for stainless clip systems to avoid galvanic corrosion.
- 304 stainless suits typical inland projects; 316 stainless suits coastal or high-chloride sites.
- Manufacturer data sheets list the exact material grades a given clip is available in.
Manufacturer clip data sheets typically list material options including G-90 galvanized, 304 stainless, and 316 stainless for the same clip body, and these sheets specify which panel rollformers each clip is compatible with. Checking that sheet against your panel profile before ordering avoids a mismatch discovered on the roof.
Coating choice also affects warranty coverage. Manufacturers tie their system warranties to using the recommended clip and fastener combination for a given panel and environment, so substituting a cheaper clip material to save cost on a coastal job can leave a contractor without coverage if corrosion shows up early.
Sizing clips and spacing them for thermal movement
Clip spacing is not a guess. It follows from panel run length, expected thermal growth, and the wind uplift the assembly needs to resist.
A widely used rule of thumb puts thermal growth at roughly 1/8 inch per 10 feet of steel panel run, which SMACNA-based guidance uses as a starting point for calculating how much movement a clip and seam need to accommodate over a given run length. Longer runs need floating clips capable of more total travel, and terminations or transitions need enough slack designed in to absorb that movement without binding.
Confirming clip size is a matter of checking documentation, not eyeballing it:
- Pull the panel shop drawings and identify the exact rollformer and profile name.
- Match that profile against the clip manufacturer’s compatibility table, not a similar-looking clip from another line.
- Confirm the clip’s rated movement allowance covers your calculated thermal growth for the run length.
- Verify the specified spacing meets the project’s design uplift requirement, tightening spacing where wind loads demand it.
- Document the point-of-fixity location on the shop drawings before installation begins.
Spacing itself typically tightens near eaves, ridges, and corners where wind uplift pressures concentrate, and loosens slightly across open field areas of the roof. A single point of fixity, almost always at the ridge or high side, anchors the run while the rest of the clips float to absorb expansion and contraction. For a deeper walk-through of the math, our guide to sizing thermal clips with SMACNA principles breaks down the calculation step by step, and our clip spacing guidance for runs over 10 feet covers spacing adjustments by gauge.
Pro Tip: Write the point-of-fixity location directly on the shop drawings, not just in a spec note. Field crews follow drawings, not paragraphs.
Choosing fasteners for wood, steel, and other substrates
The clip is only as good as the fastener holding it to the deck, and the right fastener depends entirely on what is underneath.
Type-17 threads in the #10 to #14 range suit wood substrates, cutting their own path into wood decking or purlins without pre-drilling. Steel purlins need self-drilling screws instead, since a wood-rated thread will not bite cleanly into structural steel. Low-profile pancake or wafer heads, sometimes sold under names like Panclip or XLP, keep the fastener head from telescoping through the panel pan or showing as a bump on the finished surface.
- Wood substrates: Type-17 self-tapping screws in the #10 to #14 range.
- Steel purlins: self-drilling screws rated for the purlin gauge.
- Visible or thin-gauge panels: low-profile pancake or wafer head fasteners to prevent telescoping.
- Fastener coating: match or exceed the clip’s corrosion resistance, zinc coated at minimum on steel systems.
Torque matters as much as fastener choice. Overdriving a self-drilling screw strips the substrate and leaves the clip loose under load, while underdriving leaves the fastener head proud, which can restrict the clip’s designed movement or create a leak path. Washer condition should be checked at final torque, not just at the start of the run.
The full assembly performance depends on every link in the chain acting together. As one technical resource frames it, uplift force travels from panel to clip to fastener to structure, and a strong clip paired with the wrong fastener or a weak substrate connection still fails.
Matching clamps to snow, solar, and wind loads
Not every load on a standing seam roof runs through a standard clip, and that is exactly where seam clamps come in.
Snow retention hardware, solar racking, and wind-retrofit clamps each load the seam in a different direction. A snow guard resists a downslope shear load concentrated at discrete points. A solar mount adds both a vertical dead load and wind uplift on the array itself, transferred through the clamp into the seam. A wind clamp, often added after installation to boost uplift resistance, needs to grip the same seam geometry it was tested on.
That last point is the one contractors miss most often. Clamp holding strength varies significantly by profile, gauge, and material, so a clamp tested on one seam profile cannot be assumed to perform the same way on a different one, even if the two seams look similar from the ground.
- Snow guards carry concentrated downslope shear loads at fixed points.
- Solar clamps combine dead load and added wind uplift through the racking system.
- Wind clamps retrofit additional uplift resistance onto an existing seam.
- Request certified test reports for the exact profile, gauge, and material before specifying any clamp.
When a project calls for solar racking or heavy snow retention, ask the clamp manufacturer for test data specific to the seam profile in use, and involve a structural engineer when the load combination is unusual or the roof is in a high wind zone.
Where installers get standing seam clips wrong
Most clip-related failures trace back to a handful of repeatable mistakes, all of which are avoidable with correct specification and field discipline.
- Treating clips as drag-load hardware. Clips resist wind uplift; they are not designed to hold the panel against gravity or sliding. A separate, engineered point of fixity handles that job, usually with additional fasteners at the ridge or high side.
- Pinning both ends of a run. Fixing a panel at the eave and the ridge traps the panel between two anchor points, leaving nowhere for thermal expansion to go. The panel buckles or the clips tear loose.
- Swapping clips between rollformer brands. A clip that looks like a fit for a different manufacturer’s profile may not seat correctly, even when the seam dimensions appear close.
- Skipping the fastener-to-clip material match. Using the wrong fastener coating undermines the corrosion resistance built into the clip.
Pro Tip: Before crews start installing, confirm clip type, fastener grade, spacing, and the point-of-fixity location against the shop drawings, not from memory.
A checklist for specifying the right clip on your next job
Specifying clips correctly starts with gathering the right project information before you ever open a catalog.
- Panel profile, gauge, and manufacturer rollformer name.
- Total run length from eave to ridge.
- Substrate type: wood deck, steel purlin, or other structural surface.
- Design wind uplift requirement for the project’s location and roof zone.
- Expected thermal growth based on run length and panel material.
Once those inputs are in hand, request the manufacturer’s clip compatibility table and test reports referencing ASTM E-1592, FM 4471, or UL 580/1897 for the specific profile. If the panel run is unusually long or the job site has tight access, ask whether custom-cut panel lengths or on-site roll forming could simplify clip spacing by eliminating field seams altogether.
| Submittal item | Why it matters |
|---|---|
| Clip compatibility table | Confirms clip fits the specific rollformer profile |
| Test report reference | Verifies uplift rating under ASTM E-1592, FM 4471, or UL 580/1897 |
| Point-of-fixity location | Prevents pinning errors and drag-load failures |
| Fastener specification | Matches substrate and clip material for corrosion resistance |
Practical resources for matching clips to your panel run
Contractors working through clip selection do not need to start from a blank page. Our own technical articles on sizing thermal clips with SMACNA-based principles and clip spacing for panel runs over 10 feet translate that guidance into the numbers contractors actually use on shop drawings.
MidAtlantic Metal Systems supplies 1 inch mechanical lock and 1.5 inch snap lock standing seam profiles manufactured using Englert metal systems, and those profile names are exactly what you check against a clip manufacturer’s compatibility table. On complex runs where field seams or handling damage could complicate clip fit, cut-and-drop delivery and on-site roll forming can reduce the number of variables between the panel drawing and what ends up on the roof.
Prioritize documented compatibility over convenience
Contractors get burned when they trust a clip because it looks right, not because a manufacturer confirmed it. Request the compatibility table and the test report before you order, note the point-of-fixity location on your submittal, and keep that documentation on file. It costs an afternoon up front and saves a warranty dispute later.
— Matt Catino
Sources
- The FAQs of Standing Seam Panel Clips - Metal Construction News
- 1-3/4" Snap Lock Engineered Panel Clip - SFS (data sheet)
FAQ
How many clips does a standing seam metal roof need?
Clip count depends on panel run length, gauge, and the project’s design wind uplift, since spacing tightens near eaves, ridges, and corners where uplift pressure concentrates. A manufacturer’s clip spacing table, checked against your specific profile and wind zone, gives the exact count rather than a generic figure.
What is an F-style drip edge?
An F-style drip edge is a trim profile shaped to direct water away from the fascia while providing a clean termination point at the eave of a standing seam roof. It is selected based on the panel profile and eave detail rather than a single universal shape, so it should match the trim package specified for the panel system.
How do you choose the right flashing type for a project?
Flashing choice depends on the specific roof detail, such as valleys, ridges, wall transitions, or penetrations, and should match the panel material and profile to avoid galvanic corrosion at the joint. Coordinating flashing and trim as a single package with the panel order helps ensure the pieces fit the seam geometry correctly.
Is snap lock the same as standing seam?
Snap lock is one type of standing seam roofing, distinguished by panels that snap together without a mechanical seaming tool, unlike mechanically seamed profiles that require a seamer to close the joint. Both fall under the standing seam category, but they use different clip types, with one-piece floating clips common on snap lock and two-piece clips typical on mechanically seamed panels.
What test standards apply to standing seam clip performance?
Standing seam clip and fastener assemblies are commonly evaluated against ASTM E-1592, FM 4471, and UL 580/1897, which address structural performance, wind uplift resistance, and related fire or impact criteria. Contractors should request the specific test report for the panel, clip, and fastener combination being installed rather than assuming results transfer across different profiles.