Contractors: Cut 5–10% Waste Using Standing Seam Waste Factor Takeoff
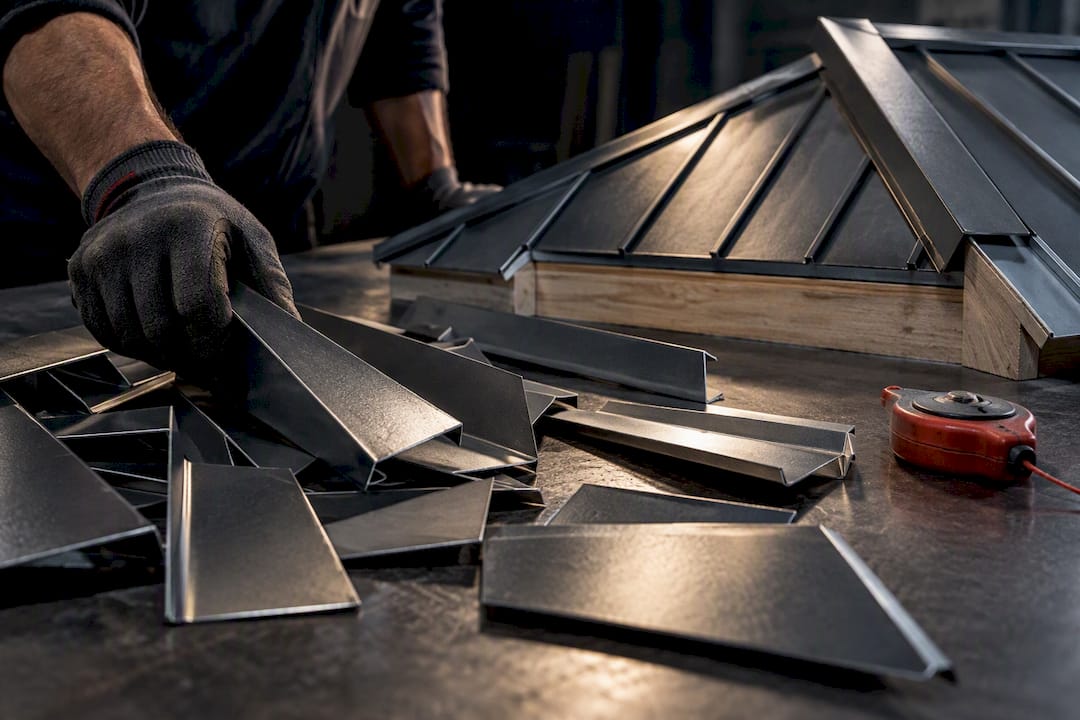
Contractors: takeoff first planning and mill cut panels cut standing seam waste 5–10%. Formulas, a worked example, and supplier tactics for tighter orders.
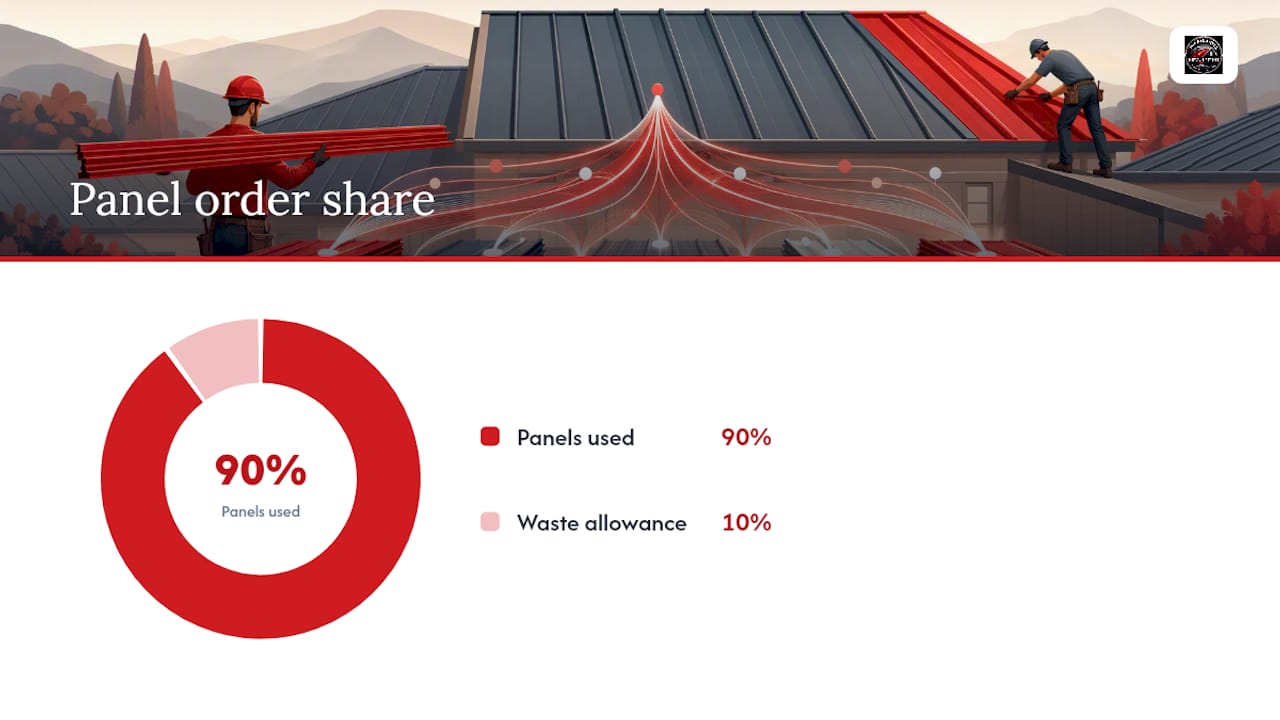
Use 5% to 8% waste on a simple gable roof, 10% once you add a couple of penetrations, 12% to 15% on hips, and 15% to 25% on valleys, dormers, or complex L-shapes. Apply that percentage to your raw panel count, then round up to the next full panel. Mill-cut, custom-length panels push your actual waste toward the low end of these ranges; field-cutting from stock pushes it toward the high end. A full worked example, clip and trim formulas, and a pre-order checklist follow below.
TL;DR:
- Using the appropriate waste factor based on roof complexity, from 5-8% on simple gables to 20-25% on complex shapes, reduces material overspending.
- Calculating net roof area requires accounting for roof pitch through a slope multiplier and subtracting non-panel areas, ensuring accurate panel quantity estimates.
- Ordering mill-cut panels aligned with specific run lengths minimizes onsite field-cut waste and improves material efficiency.
- Planning panel seams, avoiding short final panels, and nesting trim pieces help further cut waste during installation.
- Accurate measurements, verifying panel coverage, and coordinating with suppliers before ordering are crucial to prevent costly mistakes and material shortages.
Table of Contents
- What Is a Standing Seam Waste Factor, and Why Does It Matter?
- How Do You Calculate Panel Count, Clips, and Trim?
- What Waste Percentage Fits Each Roof Type?
- How Do Ordering Choices Reduce Waste?
- What Mistakes Cost Contractors the Most Material?
- How Does a Real Contractor Cut Waste With Mill-Cut Panels?
- What Should Contractors Actually Prioritize?
- Get a Mill-Cut Quote Before You Order
- Sources
- FAQ
What Is a Standing Seam Waste Factor, and Why Does It Matter?
A waste factor is the percentage of extra material you order beyond your exact roof measurements to cover cuts, breakage, defects, and the quirks of roof geometry, according to the Xactimate glossary definition. On a standing seam job, that extra material shows up as panel offcuts, mismatched run lengths, and trim pieces you cut down to fit a ridge or valley.
Most online calculators default to a flat 10% and call it done. That number works fine for a plain gable roof with no interruptions. It falls apart the moment you add a hip, a dormer, or three plumbing boots, because those features force cut lengths and unique panel runs that a flat percentage never accounts for. The Roofing Brief’s metal roofing calculator makes the same point: pick your baseline by roof complexity first, then add buffers for field-cutting and trim-stock waste on top of it.
How Do You Calculate Panel Count, Clips, and Trim?
Getting the math right starts with the roof area itself, not the footprint on your plans. A 2,000 square foot building footprint on a 6:12 pitch is not 2,000 square feet of roof surface. You need the slope multiplier for that pitch (roughly 1.118 for a 6:12) applied to the plan area before you touch panel counts.
Here’s the sequence that holds up on every job:
- Find your net roof area. Multiply plan area by the slope multiplier for the roof pitch, then subtract areas that don’t get panels (skylights, large curbs).
- Calculate panel coverage. Multiply the panel’s coverage width (the actual weather-tight width after seaming, not the flat sheet width) by the panel run length in feet.
- Get your raw panel count. Divide net roof area by panel coverage. Round to the nearest whole panel.
- Apply your waste percentage. Multiply the raw count by (1 + waste%).
- Round up to a full panel, and pad any run that lands within a few inches of a seam line.
A worked example makes this concrete. Say you’re covering 2,000 square feet with a 16 inch (1.333 foot) coverage panel run in 16 foot lengths. Panel coverage per run is 1.333 × 16 = 21.33 square feet. Divide 2,000 by 21.33 and you get roughly 94 raw panels. Add a 10% waste factor and you’re ordering about 103 panels, a number confirmed by the ShinglesCalculator worked example using the same inputs.
Clips follow a similar formula. Clips per panel equal the panel run length in inches divided by your clip spacing. For example, a 16 foot run (192 inches) with clips set every 12 inches needs 16 clips per panel. Multiply that by your panel count to estimate your clip needs before adding spares for cut pieces and starter/end conditions.
Pro Tip: Build your clip count into the takeoff at the same time as your panel count, not after. Contractors who calculate clips separately at the end almost always come up short on small orders, because they forget the extra clips needed at cut panels and terminations.
Ridge, hip, and trim pieces run on a different formula because they come in stock lengths, usually 10 or 12 feet. Pieces needed equals the ceiling of (total ridge or hip length divided by usable piece length after overlap). If your hip run is 42 feet and your trim stock comes in 10 foot pieces with a 6 inch overlap, each usable piece covers 9.5 feet, so you need 5 pieces (42 ÷ 9.5 = 4.4, rounded up to 5). Order to the nearest full foot increment from the mill, and pad slightly for shipping damage and field error, a habit The Roofing Brief recommends as standard practice.
What Waste Percentage Fits Each Roof Type?
The percentage bands below come from the residential standing seam install manual published by RoofersCoffeeShop, and they line up with what most experienced crews already apply by feel:
- Simple gable, no penetrations: 5% to 8%. Long, uninterrupted runs mean almost every panel gets used.
- Gable with one or two penetrations: 10%. A couple of pipe boots or a small skylight curb costs you a handful of cut pieces.
- Hip roof: 12% to 15%. Every hip line forces unique panel lengths and angled cuts that can’t be reused elsewhere.
- Roof with valleys or dormers: 15% to 20%. Valleys create mitered cuts on both sides, and dormers add short runs that generate offcuts fast.
- Complex L-shaped roof: 20% to 25%. Multiple intersecting planes multiply the number of unique panel lengths you need, and very few offcuts are reusable elsewhere on the job.
Three things drive these numbers up beyond the base percentage. Hips and valleys force cut pieces with lengths that rarely match another spot on the roof, so the offcuts become scrap instead of stock. Multiple penetrations, especially plumbing boots, need matching cut pieces around each one, and those cuts don’t nest efficiently with your main runs. Trim itself deserves separate math: perimeter trim, ridge cap, and valley flashing commonly run 15% to 25% of total panel footage in cost on a complex roof, according to The Roofing Brief’s calculator guidance, and that’s before you touch panel waste at all.
Add a buffer on top of these bands in two situations. Field-cutting panels from stock lengths on site typically adds close to 5% additional waste compared with ordering mill-cut, custom lengths. And if site conditions are uncertain, undocumented decking, unclear existing dimensions, unusual roof access, tack on a contingency rather than betting the order on your first measurement.
How Do Ordering Choices Reduce Waste?
The single biggest lever you control is whether panels arrive mill-cut to your exact run lengths or get field-cut from long stock. Mill-cut panels eliminate most of the length-based offcut problem before the panels ever reach the job site, because every run is fabricated to the dimension you specified. Field-cutting from stock is faster to order in a pinch, but plan on that extra 5% waste showing up in scrap steel and labor hours spent cutting on a roof deck.
Panel run planning matters almost as much as the cut method. A few habits separate tight orders from sloppy ones:
- Line up seams across roof planes so you’re not fighting mismatched panel widths at hips and valleys.
- Avoid short final panels at the end of a run. A 3 foot leftover piece is waste; adjusting the run schedule to end on a full or half panel isn’t.
- Prefer long, continuous runs over multiple short ones whenever the roof geometry allows it. Fewer seams means fewer places to generate offcuts.
- Nest trim pieces where the layout allows, cutting two shorter trim pieces from one stock length instead of ordering two full lengths.
Trim ordering deserves its own attention separate from panel ordering. A contractor-facing guide on panel layout puts the achievable waste reduction from tighter layout planning at 5% to 10% on most jobs, which tracks with what shows up in the field.
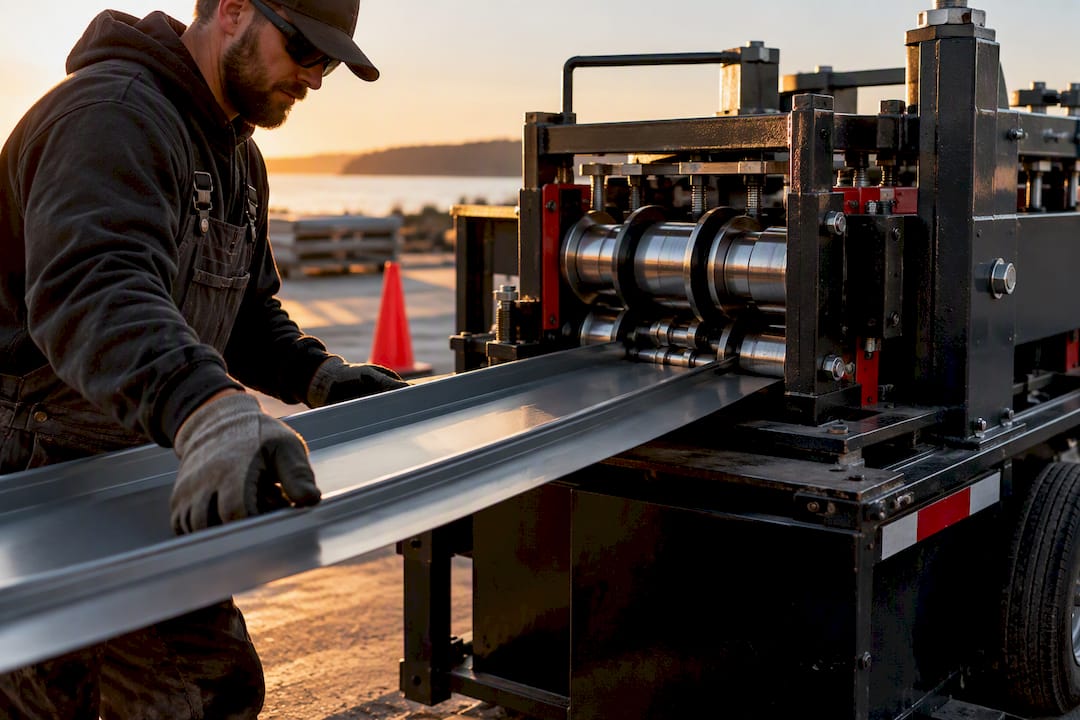
On-site roll forming solves a different problem: unpredictable or unusually long run lengths that would otherwise force multiple seamed pieces or heavy field-cutting from stock. Instead of ordering fixed lengths and hoping they fit, a mobile roll former produces exact custom lengths directly on the job site, which is worth requesting when your run-length schedule has a lot of variation from one section of roof to the next.
Coordinate directly with your supplier before the order goes in. Give them a full run-length schedule broken out by roof plane, specify your mill-cut increments (round to the next full foot rather than fractional lengths), and confirm lead times up front so a late change doesn’t force a rushed field-cut substitution.
What Mistakes Cost Contractors the Most Material?
Two other mistakes show up almost as often: forgetting the slope multiplier entirely (ordering off the flat plan area instead of the actual roof surface), and failing to confirm net panel coverage width against the manufacturer’s data sheet before running the math, since coverage width varies by profile and seam type.
Trim gets shortchanged more than panels do. Contractors count panels carefully, then guess at trim quantities instead of running the same stock-length formula. Run the numbers separately for panel waste and trim waste. Confirming panel coverage against a standing seam product data sheet before finalizing an order catches most coverage-width errors before they become an order-day problem.
Before any order goes out, work through this checklist:
- Confirm roof area and pitch against actual field measurements, not just the plan set.
- Verify panel coverage width with the manufacturer’s data sheet for the specific profile you’re ordering.
- Decide mill-cut versus field-cut for each roof section based on run-length variability.
- Compute clips and trim pieces independently of panel count, using the formulas above.
- Set your contingency percentage based on roof complexity and site certainty, then lock the order.
If you still come up short on site, isolate exactly which panels or trim pieces are missing before reordering. Reorder mill-cut panels to the exact run length needed rather than grabbing stock and field-cutting under time pressure, and put temporary protection over any open decking while you wait on the reorder.
How Does a Real Contractor Cut Waste With Mill-Cut Panels?
On a Washington, D.C. installation using 24-gauge mechanical lock panels, the winning move wasn’t a fancier waste formula. It was ordering mill-cut panels to the contractor’s exact run-length schedule instead of stock lengths trimmed on site. Matching every panel to its specific roof plane before fabrication meant the crew’s actual material use landed close to their calculated order, with none of the emergency stock runs that field-cutting jobs tend to produce.
Three services drive that kind of accuracy on a takeoff:
- Cut-and-drop delivery puts custom-length panels on the job site ready to install, cutting out the field-cut waste premium entirely.
- On-site roll forming handles roof sections with unpredictable or unusually long run lengths that don’t fit neatly into standard stock.
- Coordinated trim and flashing packages keep ridge, hip, and valley trim ordered against the same run schedule as the panels, rather than as an afterthought. A panel layout guide for standing seam contractors walks through the layout tactics that make this work.
To get a tight order back from a supplier, hand over roof plans with plane-by-plane dimensions, your target run lengths, the panel profile (1 inch mechanical lock or 1.5 inch snap lock), and your preferred mill-cut increment. The more specific that information is going in, the less padding you need on the waste factor coming out.
What Should Contractors Actually Prioritize?
Most waste-factor advice online treats the number itself as the fix. It isn’t. The percentage matters far less than whether your panels are cut to match the roof or cut to match a stock length and hoped into place.
Hips, valleys, and dormers aren’t edge cases; on a lot of residential work they’re the job. Prioritize getting your run-length schedule right before you touch a waste percentage at all. A precise schedule handed to a supplier capable of mill-cut fabrication or on-site roll forming will save more material than any formula tweak.
If you take one thing from this: stop treating waste factor as a single number you look up. Treat it as the output of a decision you make early, mill-cut or field-cut, long runs or short, coordinated trim or guessed trim, and let the percentage follow from that.
— Matt Catino
Get a Mill-Cut Quote Before You Order
Some suppliers offer custom-length panels cut to your exact run-length schedule instead of fixed stock sizes trimmed down on a roof deck, a practice that can reduce material waste toward the low end of typical ranges.
The lineup covers 1-inch mechanical lock and 1.5-inch snap-lock standing seam panels in 24-gauge and 26-gauge Englert steel, delivered through cut-and-drop delivery straight to the job site, backed by on-site roll forming for roofs with unpredictable run lengths, plus coordinated trim and flashing packages ordered against the same schedule as your panels. Contractors also managing lead flow alongside job scheduling can find useful groundwork in Leapify Media’s contractor growth resources.
Before reaching out, pull together your roof plans with plane-by-plane dimensions, slope, target panel profile, and preferred run lengths. With that in hand, request a takeoff-based quote through the standing seam panel page and get numbers back that match the roof you’re actually building, not a generic percentage.
Sources
- Residential standing seam install manual (RoofersCoffeeShop)
- Standing seam calculator and worked example (ShinglesCalculator)
FAQ
How do I calculate the roof waste factor?
Start with your net roof area (plan area multiplied by the slope factor for your pitch), divide by panel coverage to get a raw panel count, then multiply by (1 plus your waste percentage) and round up. Choose the percentage based on roof complexity, from 5% to 8% on a simple gable up to 20% to 25% on a complex L-shaped roof, rather than defaulting to a flat number.
What is the 25% rule for roofing?
There’s no single universal “25% rule.” In standing seam takeoffs, 20% to 25% is the upper end of the recommended waste-factor range, reserved for complex L-shaped roofs with multiple intersecting planes where unique panel lengths and cuts multiply fast, according to industry install guidance.
What is the typical waste factor for a hip roof?
Roofs that combine hips with valleys or dormers should shift toward the higher end of that band or into the 15% to 20% range.
Is 24-gauge standing seam class 4?
Impact resistance ratings depend on the specific panel profile, coating, and manufacturer testing, not gauge thickness alone, so a 24-gauge panel isn’t automatically given a classification. Check the manufacturer’s data sheet for the exact profile you’re specifying, such as the 1-inch mechanical lock or 1.5-inch snap-lock panels, for its specific impact and wind rating before assuming a classification.
Does mill-cut ordering actually reduce waste compared to field-cutting?
Yes. Mill-cut panels arrive fabricated to the exact dimension needed for each roof plane, which cuts down on the offcuts that field-cutting generates.